Quick answer
Put on rubber gloves. Spray white vinegar or mould remover onto the affected sealant. Leave it for 30 minutes. Scrub with an old toothbrush and cotton buds. Rinse and dry. If mould remains deep inside, cut out the old sealant and apply a new bead.
Black mould on bathroom sealant looks unpleasant and can spread quickly. You can usually remove surface mould with a simple cleaning routine. If the mould has worked its way beneath the sealant, you will need to strip it out and start fresh.
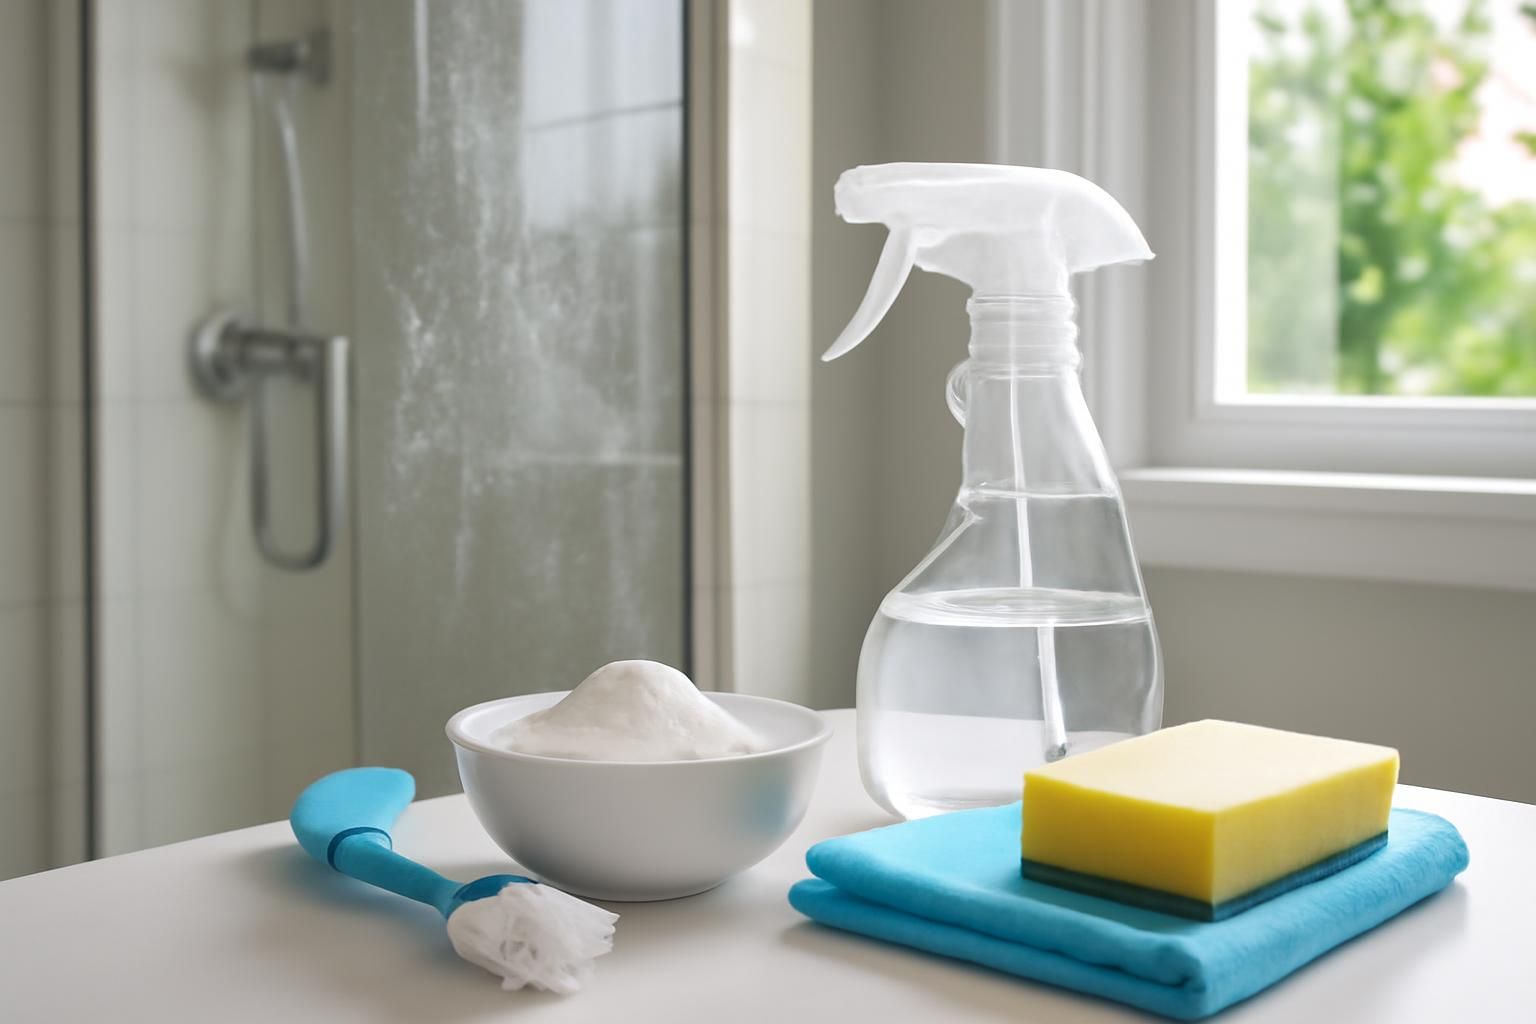
What you’ll need
- rubber gloves
- white vinegar or commercial mould remover
- old toothbrush
- cotton buds
- bleach (optional)
- new sealant and caulking gun (for replacement)
- masking tape
- plastic scraper or Stanley knife
Step by step
- 1
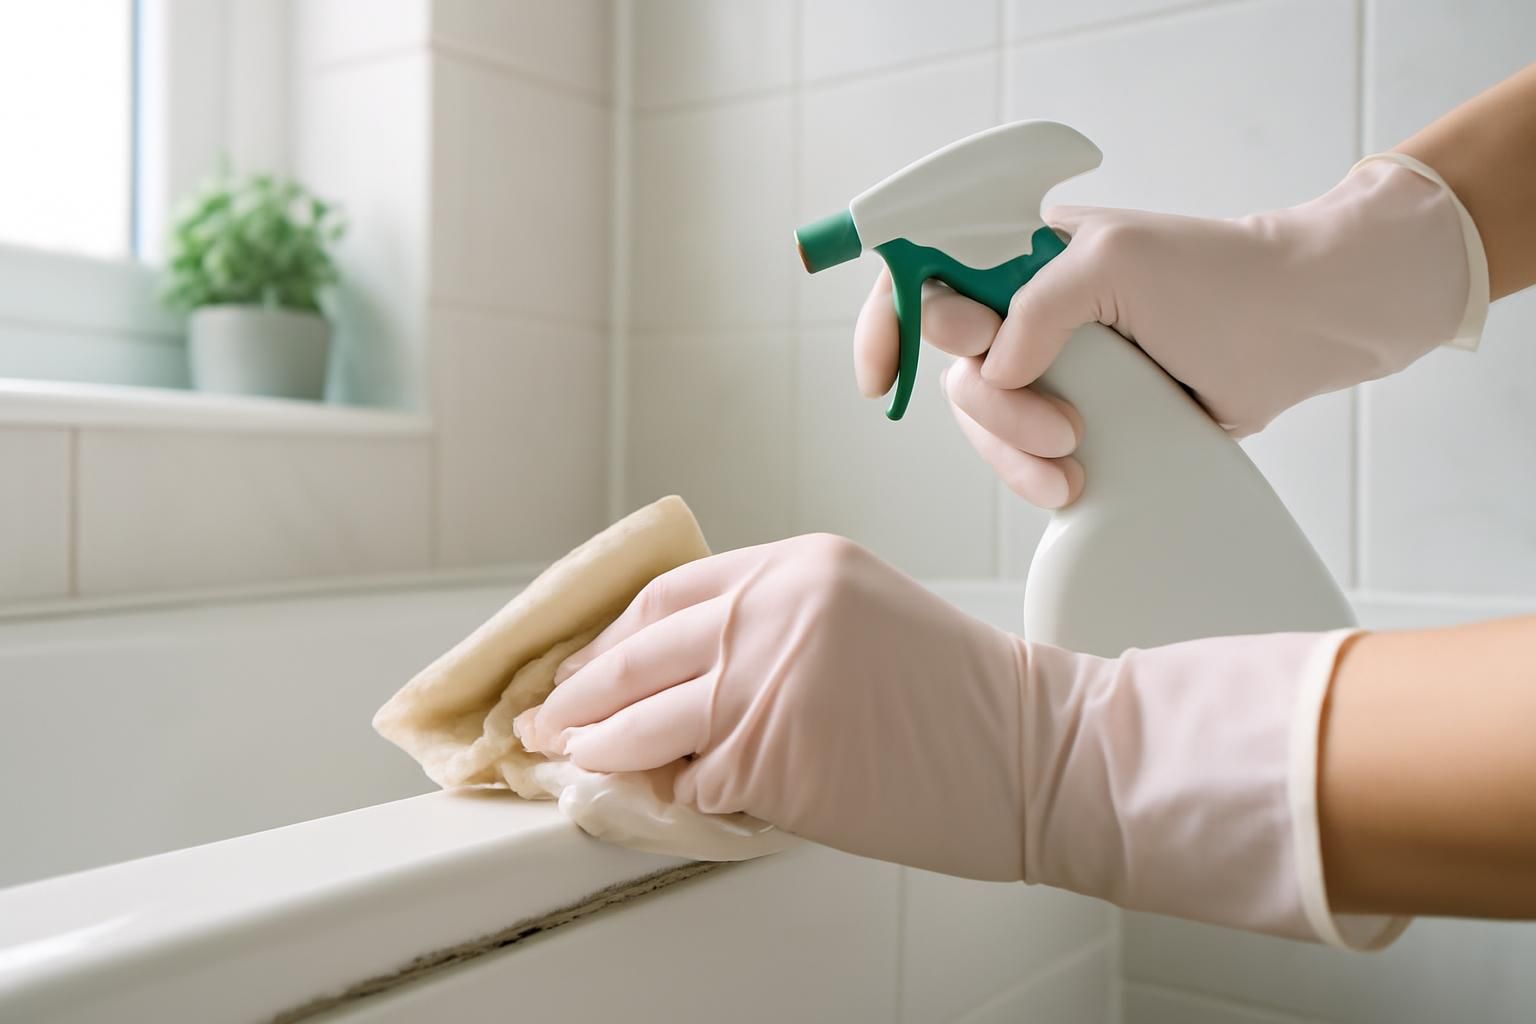
Ventilate the room and put on gloves
Open the window and turn on the extractor fan. Put on rubber gloves to protect your skin from vinegar, mould remover, or bleach.
- 2
Apply your chosen cleaner
Spray white vinegar or mould remover directly onto the mouldy sealant. Make sure every dark patch is saturated. Leave it to work for at least 30 minutes.
- 3
Scrub the sealant
Use an old toothbrush to scrub along the sealant line. Push cotton buds into the corners and gaps where the brush cannot reach. Wipe away loosened grime with a damp cloth.
- 4
Tackle stubborn patches
For deep stains, make a paste of bicarbonate of soda and water, or use a diluted bleach solution on a cotton bud. Apply it only to the affected area. Leave for 10 minutes, then scrub again and rinse.
- 5
Rinse and dry thoroughly
Wipe the sealant with a clean, damp cloth to remove all residue. Dry it completely with a towel. Mould thrives on moisture, so removing dampness is essential.
- 6
Decide whether to replace the sealant
If the mould disappears and the sealant looks sound, you are done. If the sealant is crumbling, peeling, or still looks stained beneath the surface, cut it out with a scraper or Stanley knife. Clean the gap, let it dry for 24 hours, then apply a fresh bead of anti-mould bathroom sealant.
- 7
Apply new sealant neatly
Tape both sides of the gap with masking tape. Cut the sealant nozzle at a 45-degree angle. Run a smooth bead along the joint, then wet your finger and glide it along the sealant to create a clean finish. Remove the tape immediately. Leave it to cure for 24 hours before using the shower or bath.
Never mix bleach with vinegar or other cleaners. This creates toxic chlorine gas. Work in a well-ventilated room. Wear rubber gloves and avoid touching your face. Mould spores can irritate the skin and lungs; keep vulnerable people out of the room while you clean.
Common mistakes
- Scrubbing dry sealant without letting the cleaner soak in first.
- Applying new sealant over old mouldy sealant instead of removing it.
- Using the bath or shower before the new sealant has fully cured.
- Forgetting to dry the area after cleaning, which lets mould return quickly.
Frequently asked
Can I use bleach straight on bathroom sealant?
You can use diluted bleach on white sealant, but it may discolour coloured sealant. Never mix bleach with vinegar or other products. Always rinse thoroughly afterwards.
Why does mould keep coming back on the sealant?
Mould returns if the sealant stays damp, if the bathroom lacks ventilation, or if the mould has penetrated beneath the surface. Improve airflow and consider replacing the sealant entirely.
How long should I wait before using the shower after re-sealing?
Most bathroom sealants need 24 hours to cure fully. Check the manufacturer's instructions on the tube, as some fast-cure products may differ.