Quick answer
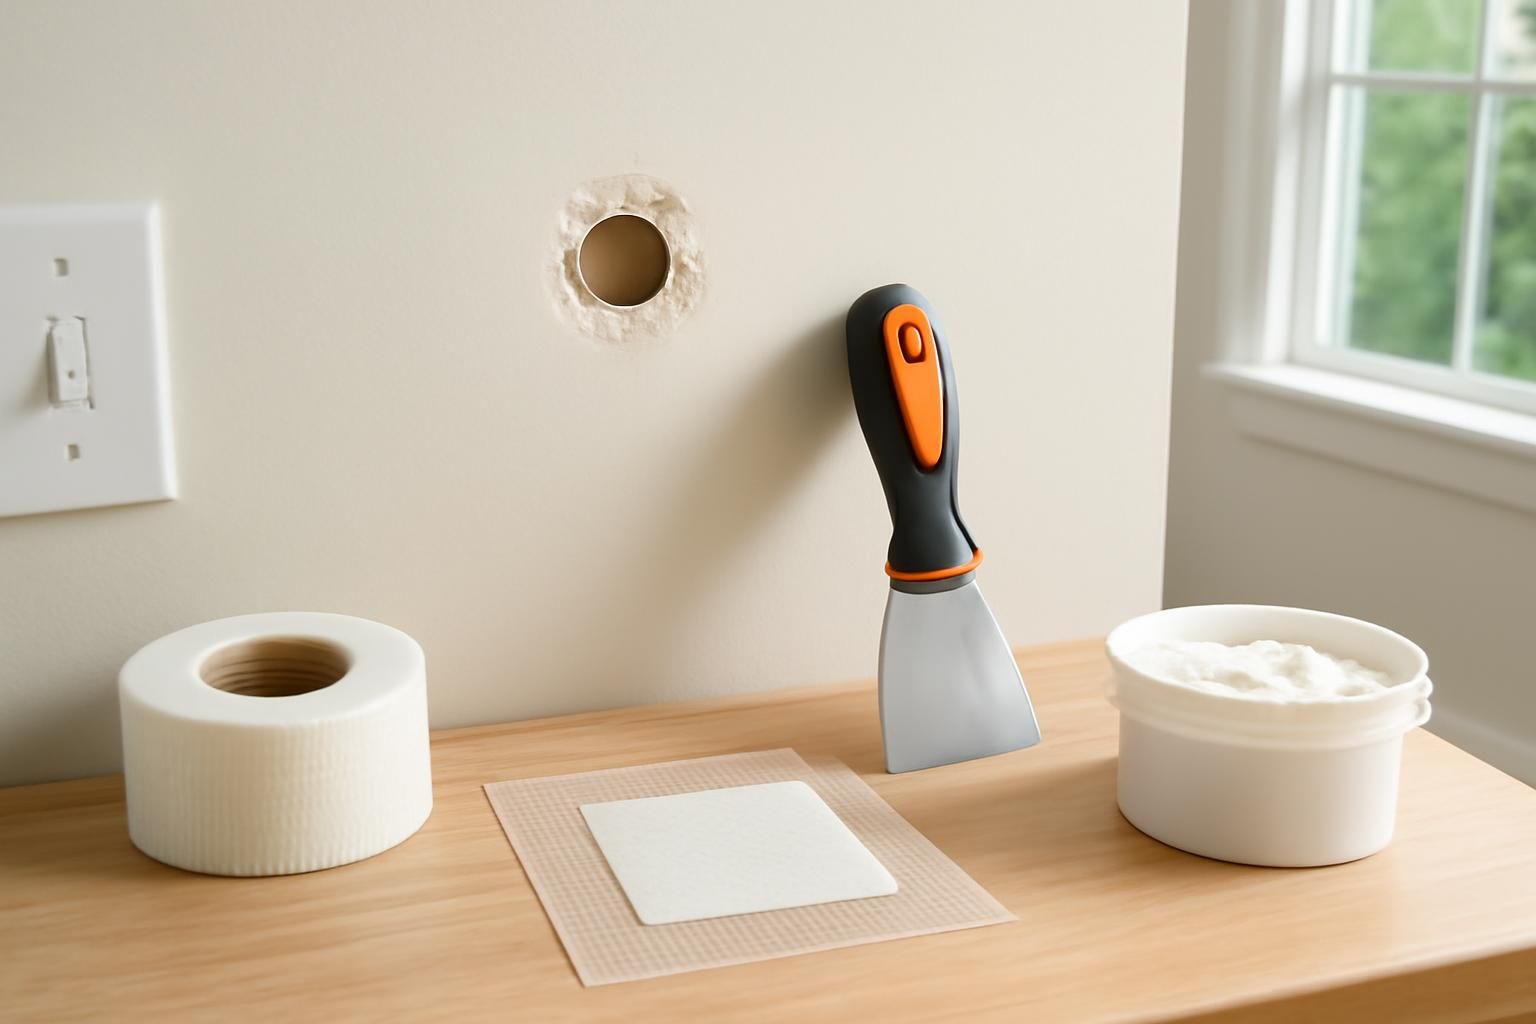
For nail and screw holes, press lightweight spackle into the hole, let it dry, sand it flush, then prime and paint. For holes up to fist-sized, cover them with a self-adhesive wall repair patch, coat it with joint compound in thin layers, sand smooth, and paint.
Drywall is soft and forgiving, so small holes are one of the easiest repairs to get right. The method depends on size. Tiny holes from nails, screws, and anchors just need filler. Anything from a doorknob dent up to about the size of your fist needs a backing patch so the compound has something to grip. The work itself is simple. The finish quality comes down to patience between coats and clean sanding.
What you’ll need
- Putty knife or flexible taping knife (a 2-inch for tiny holes, a 4 to 6 inch for patches)
- Sanding sponge or sanding block with fine-grit (120-150) paper
- Utility knife
- Dust mask
- Damp rag or sponge for cleanup
- Small paintbrush or roller for priming
Materials
- Lightweight spackle (for nail, screw, and anchor holes)
- Self-adhesive wall repair patch with a metal backing and fiberglass mesh face, sized to overlap the hole by at least an inch on all sides (for larger holes)
- All-purpose or lightweight joint compound (for patch repairs)
- Drywall primer or a quality interior primer
- Matching wall paint
Step by step
- 1
Clean up the hole
Run your finger or a utility knife around the edge and shave off any loose paper, crumbling gypsum, or raised burrs. On a tiny nail hole, you can tap the edges in slightly with the handle of your putty knife to make a small dish for the filler to sit in. Wipe the dust away so the filler bonds to clean material.
- 2
Fill tiny holes with spackle
For nail holes, screw holes, and old anchor holes, load a small amount of spackle on the corner of your putty knife and press it firmly into the hole. Drag the blade across at a low angle to scrape it flush. Press harder than feels natural so the compound packs in rather than bridging the surface. On a deep hole, overfill it slightly to account for shrinkage.
- 3
For larger holes, apply a wall patch
For holes from about a coin up to fist-sized, peel the backing off a self-adhesive wall repair patch and center it over the hole. Press the whole perimeter flat so it sticks to solid wall, overlapping undamaged drywall by at least an inch all around. The patch has a thin metal backing plate behind a fiberglass mesh face, so it spans the open hole and gives the compound a rigid base.
- 4
Coat the patch with joint compound
Spread a thin layer of joint compound over the patch with your wider knife, pushing it into the mesh and feathering the edges a couple of inches past the patch onto the surrounding wall. Keep it thin. You are not trying to bury the patch in one pass. Scrape off the excess so you leave the thinnest layer that still covers the mesh.
- 5
Let it dry, then add feather coats
Let each coat dry fully. Lightweight compounds usually take a few hours, and you want it turned uniformly white with no gray damp spots. Add a second and usually a third coat, each one wider than the last, feathering the edges further out each time. Widening the coats is what hides the bump. A patch blended over a 10 to 12 inch span disappears; one piled high in a 4-inch lump never will.
- 6
Sand flush and smooth
Put on a dust mask. With a fine-grit sanding sponge, sand the dried repair using light circular and then straight strokes until the patch is flush with the wall and the edges feather into the surface. Run your bare hand over it with your eyes closed. Your fingertips catch ridges your eyes miss. Wipe off all the sanding dust with a damp rag.
- 7
Prime, then paint
Brush or roll primer over the repair and let it dry. Priming seals the porous filler so the patch does not flash, showing through the topcoat as a dull spot. Once it's primed, paint with your wall color and feather the edges. On a wall where the patch would catch the eye, roll the paint out to the nearest corner or edge instead of stopping in the middle of the wall.
Walls hide electrical wiring, water lines, and sometimes gas pipes, especially below switches and outlets and in kitchen and bathroom walls. The surface patches in this guide don't go deep enough to reach any of that. But if a hole is larger than a fist, or you need to cut the wall open, stop and check for wiring and plumbing before you cut.
Common mistakes
- Piling on one thick coat instead of several thin, feathered ones. Thick compound cracks, shrinks, and leaves a visible hump.
- Sanding before the compound is fully dry, which gouges and smears it instead of cutting it clean.
- Skipping primer and painting straight over the filler, so the patch shows through as a dull or glossy spot.
- Feathering the edges too narrow, leaving a raised ring you can feel and see in raking light.
- Using stiff filler in an open hole with no backing, so it falls into the wall cavity. Larger holes need a patch first.
Frequently asked
What's the largest hole I can fix this way?
A self-adhesive wall patch handles holes up to roughly fist-sized. Beyond that, the patch can't stay rigid. You'll need to cut a clean square, add a wood or drywall backing strip, and screw in a fresh piece of drywall, which is a bigger job.
Spackle or joint compound, which should I use?
For tiny nail and screw holes, lightweight spackle is faster and shrinks less. For anything you're covering with a patch, use joint compound. It spreads and feathers better over a larger area.
How long before I can sand and paint?
Let each coat dry until it turns uniformly white with no gray damp patches. That's usually a few hours for lightweight products, longer in humid or cold rooms. Sanding or coating over damp compound ruins the finish, so don't rush it.
Do I really need to prime?
Yes, if you want a clean result. Bare filler is more porous than the surrounding painted wall, so without primer it absorbs paint differently and shows as a visible patch even after the topcoat dries.
Why does my patch still show after painting?
Usually one of three things: the area wasn't primed, the edges weren't feathered wide enough, or the repair sits slightly proud or sunken. Raking light from a window or lamp exposes all three. Re-sand, re-prime, and repaint that section.
Keep your knife clean and wipe it between passes. A speck of dried compound on the blade drags a groove through every coat you lay down, and you'll spend more time chasing that streak than you spent on the original hole.