Quick answer
Clean the chipped area with acetone or isopropyl alcohol. For shallow chips, apply touch-up tile paint or white nail varnish. For deeper chips, fill with epoxy tile filler, level it flush with the surface, and let it cure before using the area. Colour matching is the hardest part — test on the underside of a spare tile first.
This guide covers cosmetic repairs for surface chips up to about 10 mm in ceramic or porcelain tiles. It is not for structural damage or loose tiles. With the right filler and careful colour matching, a chip can become far less noticeable.
What you’ll need
- Acetone or isopropyl alcohol
- Cotton bud or clean cloth
- Epoxy tile filler or touch-up tile paint
- White nail varnish (for hairline chips)
- Toothpick or small spatula
- Optional: spare tile for colour testing
Step by step
- 1
Clean the chip thoroughly
Wipe the chipped area and the surrounding tile with acetone or isopropyl alcohol on a cotton bud or cloth. Remove all grease, soap residue, and dust. This step is essential — filler applied over dirt will lift within weeks.
- 2
Choose your repair product
For hairline chips on plain white tiles, white nail varnish is a fast temporary fix. For coloured tiles, use touch-up tile paint matched to your tile. For chips with depth, use epoxy tile filler — it is the most durable option.
- 3
Test the colour match
Bring a photo of your tile to a specialist, or test the repair product on the underside of a loose or spare tile first. Do not rely on brand colour names like 'bright white' — shades vary enormously between manufacturers.
- 4
Apply the filler or paint
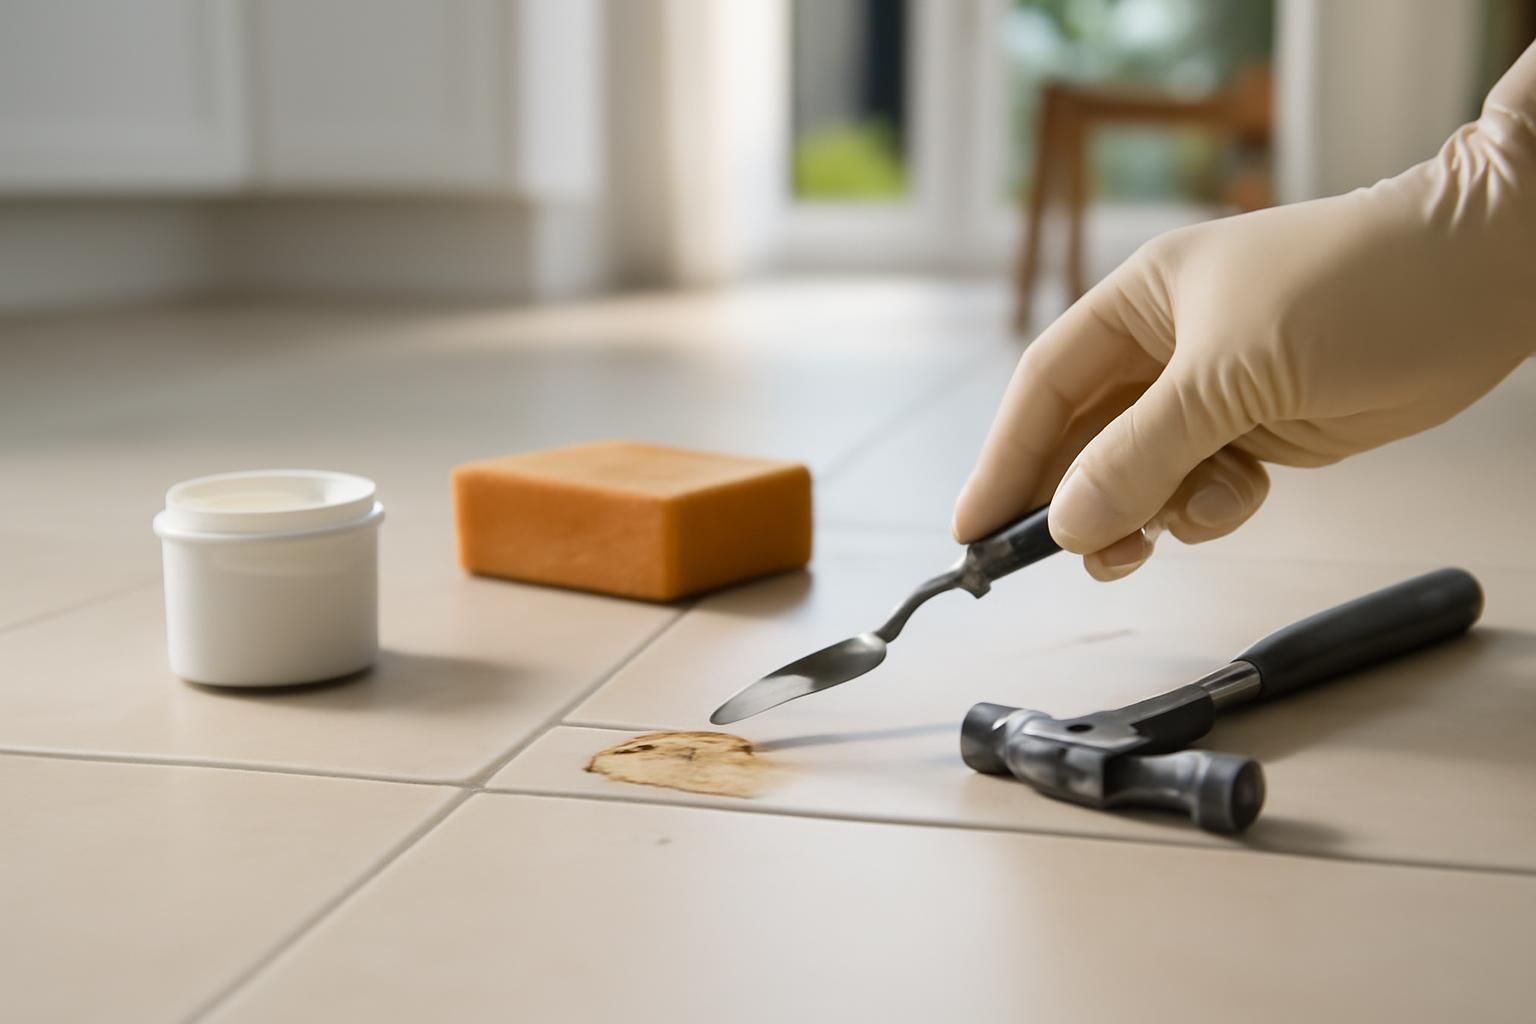
For epoxy filler, mix according to the label and press it into the chip with a toothpick or small spatula. Slightly overfill and leave it proud — do not sand it flat later. For paint or nail varnish, apply thin layers and let each dry before adding the next.
- 5
Let it cure and inspect
Allow the repair to cure for the time stated on the product label — usually 24 hours for epoxy. Step back and look at the tile from a normal standing distance. Floor tiles in high-traffic areas rarely achieve invisible repairs, but the chip will be far less noticeable.
Do not sand ceramic or porcelain tile after applying filler — the glazed surface will be scratched and leave a dull patch worse than the original chip. If the tile is cracked through its full depth, loose, or in a wet area where the repair must be waterproof, consider replacing the tile instead. See our guide on replacing a broken floor tile.
Common mistakes
- Applying filler over a dirty or greasy chip — the repair lifts or discolours within a few months.
- Overfilling the chip and trying to sand ceramic tile flat — tile surface is a glaze; sanding cuts through it and leaves a dull patch worse than the original chip.
- Buying tile repair kits by brand colour name rather than testing on the actual tile — 'bright white' varies enormously between manufacturers.
Frequently asked
Can I repair a chip on a floor tile that people walk on, or will it just chip again?
You can repair it, but set your expectations. Epoxy filler holds up reasonably well to foot traffic, though the repair may be visible at close range. High-traffic areas are better suited to full tile replacement for a lasting fix.
What's the difference between tile filler and tile paint — do I need both?
Tile filler is a thick epoxy that fills depth and hardens. Tile paint is a thin coating that colours the surface. Use filler for chips with depth, then paint over it if the colour does not match. For hairline chips, paint alone is enough.
My chipped tile is in a wet area (shower). Will a standard epoxy filler hold up to water?
Most standard epoxy fillers are water-resistant once fully cured, but they are not designed for constant soaking or the flexing that can occur in shower trays. For shower walls or floors, a full tile replacement is the safer, longer-lasting option.