Quick answer
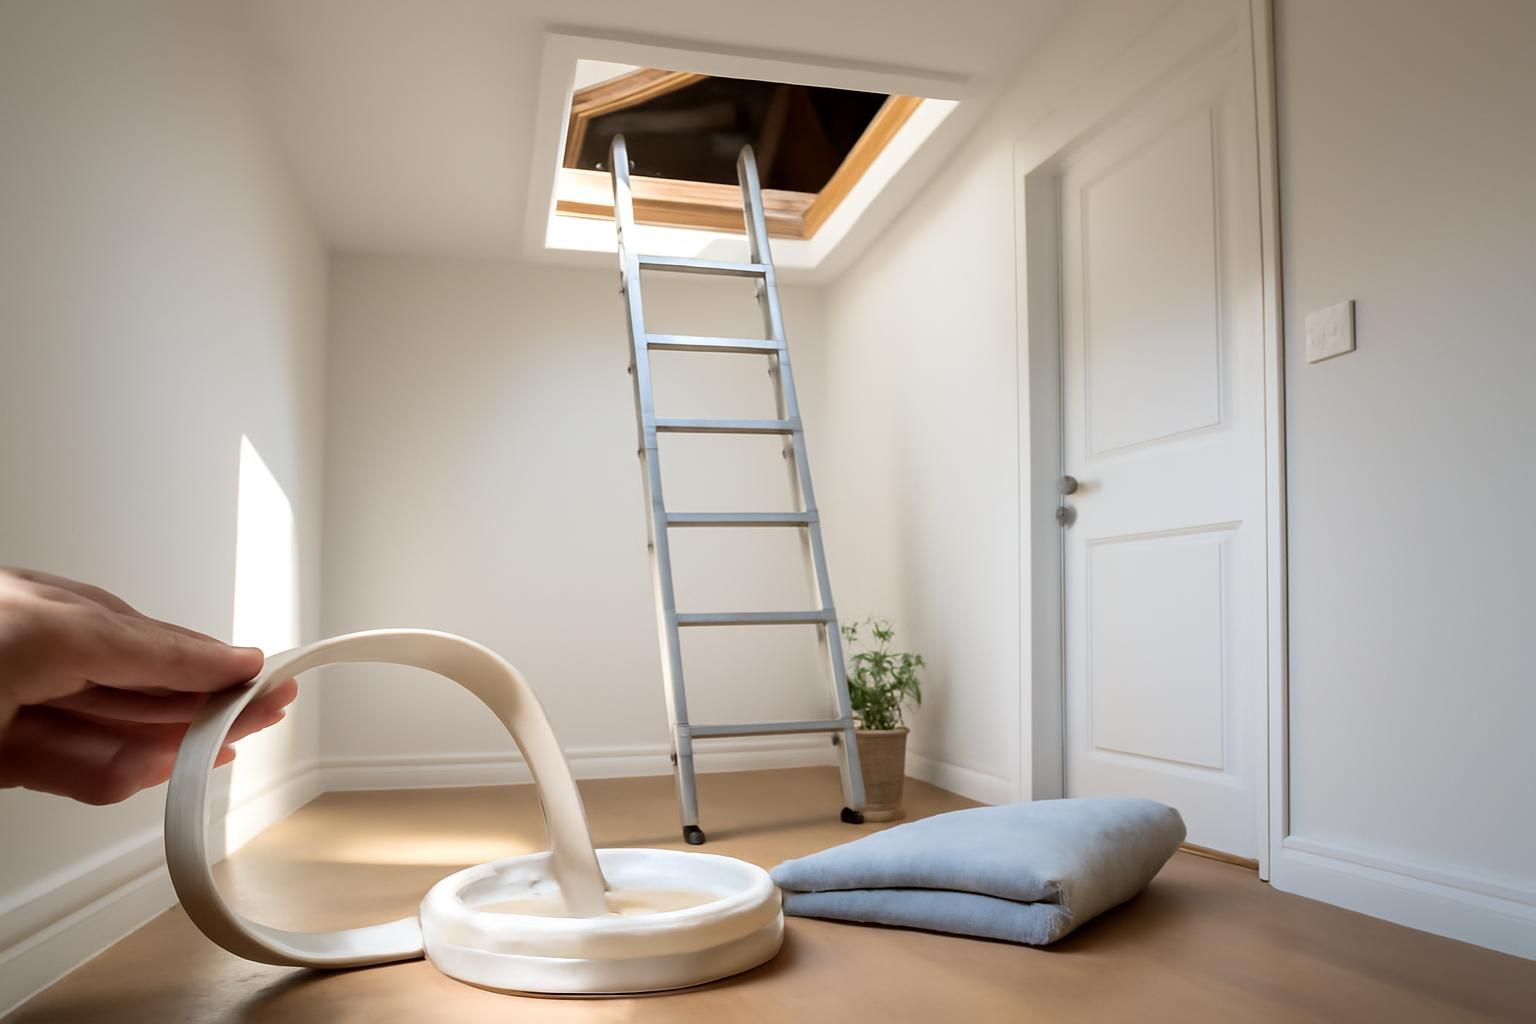
Fit self-adhesive foam draught strip around the loft hatch frame and the underside of the hatch door. Then fix 50–100 mm of rigid PIR insulation board to the top face of the hatch. Use 15–20 mm deep foam strip so it does not compress flat. The whole job takes about an hour and costs under £10.
A poorly sealed loft hatch is one of the top five heat-loss points in a typical home. Warm air rises straight through the gaps, while cold air drops into the rooms below. The fix is cheap and quick: self-adhesive foam draught strip around the frame, plus rigid insulation board fixed to the top of the hatch itself. Most people only do one and miss half the benefit.
What you’ll need
- self-adhesive foam draught strip (15–20 mm deep, 5–6 mm gap size)
- rigid PIR or polyisocyanurate insulation board (50–100 mm)
- saw or craft knife
- metal ruler
- strong grab adhesive or screws with washers
- dust mask
Step by step
- 1
Test for draughts
On a cold day, hold a lit incense stick near the closed hatch edges. Any flicker or pull of smoke confirms a draught. Note where the gaps are worst.
- 2
Clean the surfaces
Wipe the hatch frame and the underside of the hatch door with a damp cloth. Let everything dry. Old dust and grease stop the adhesive from sticking.
- 3
Fit foam strip to the frame
Cut lengths of 15–20 mm deep self-adhesive foam strip to fit each side of the hatch frame. Peel off the backing and press firmly into place. Do not use thin 12 mm strip — it compresses flat within weeks and stops sealing.
- 4
Fit foam strip to the hatch door
Apply matching foam strip to the underside edges of the hatch door, where it meets the frame when closed. This creates a seal on both sides.
- 5
Add insulation board to the hatch top
Cut a piece of 50–100 mm rigid PIR board to fit the top face of the hatch. Secure it with grab adhesive or small screws and washers. Keep the board flush or slightly recessed so the hatch still opens and closes freely. Do not make it so thick that the hatch jams.
- 6
Check the seal
Close the hatch and run the incense test again. No flicker means the job is done. If smoke still moves, add a second layer of strip or check for warping in the hatch door.
Loft hatches are often in ceilings and may require working at height on a ladder. Make sure the ladder is on level ground and fully open. Do not over-reach. If the hatch frame is damaged or the surrounding plasterboard is crumbling, the structure may not be sound. Call a builder to assess it before adding weight.
Common mistakes
- Using thin (12 mm) foam strip that compresses flat within weeks and stops sealing — specify 15–20 mm depth with a 5–6 mm gap for compression.
- Fitting insulation board so thick it makes the hatch impossible to lift cleanly, rather than securing it with pegs or a frame to keep it manageable.
- Neglecting the loft hatch frame itself — warm air passes around the frame as much as through the hatch door.
Frequently asked
Do I need to insulate the hatch if I've already insulated the loft floor?
Yes. Loft floor insulation stops heat loss through the ceiling, but the hatch is a hole in that ceiling. Without sealing and insulating the hatch, warm air will still pour out and cold air will fall through.
What's the best type of insulation board to put on top of the hatch?
Rigid PIR or polyisocyanurate board gives the best insulation for its thickness. A 50 mm board has roughly the same insulating value as 100 mm of mineral wool. Cut it to size and fix it with adhesive or small screws.
Will draught-proofing the hatch make my loft dangerously airtight?
No. A foam strip seal around a loft hatch is not airtight enough to cause problems. Loft ventilation comes from eaves vents and roof vents, not from the hatch gap. You are only stopping uncontrolled heat loss into the loft space.