Quick answer
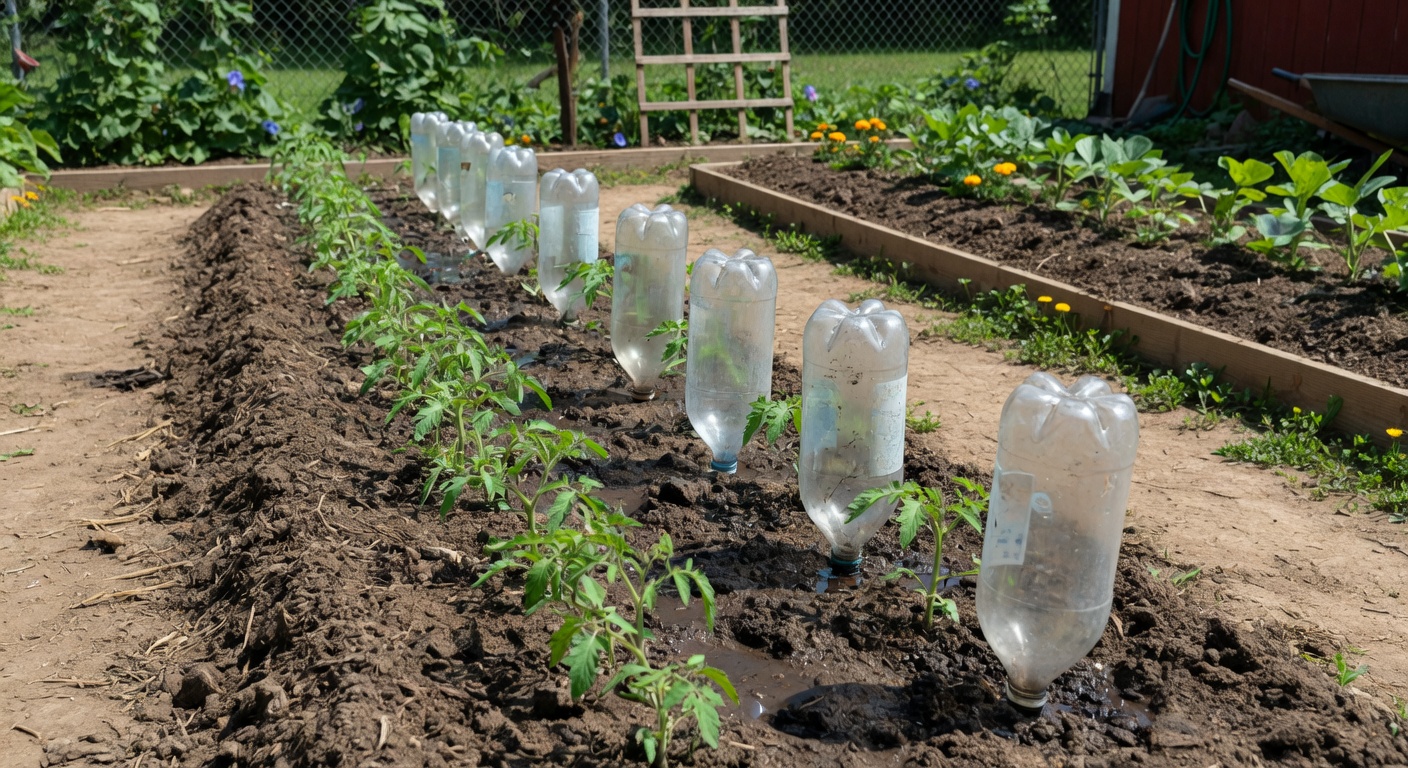
Pierce a few tiny holes in a clean bottle cap or lower side, fill the bottle with water, set it upside down or beside the plant, and test the drip rate before relying on it.
Bottle drip watering is not a full irrigation system, but it can keep soil evenly moist for containers and small garden beds during hot spells or short absences.
What you’ll need
- Awl or heated needle
- Scissors or utility knife
- Watering can
Materials
- Clean plastic bottle
- Water
- Mulch
Step by step
- 1
Choose the bottle size
Use a small bottle for pots and a larger bottle for beds. Wash out any sugary drink residue first.
- 2
Make tiny holes
Pierce two or three small holes in the cap for upside-down use, or near the lower side for horizontal use.
- 3
Test in a sink
Fill the bottle and watch the drip. Enlarge holes only if the water barely moves.
- 4
Place near the roots
Set the bottle close to the plant's root zone, not against the stem.
- 5
Mulch the surface
Add mulch around the bottle so the slow water release stays in the soil longer.
How to tune the flow
Soil texture changes the result. Sandy soil drains fast and may need a slower drip with more frequent refills. Heavy soil can stay wet, so use fewer holes and check moisture before adding more water.
Do not depend on a new bottle drip setup for a long trip until you have tested it for at least one full day.
Common mistakes
- Making holes too large
- Placing the bottle far from roots
- Using it in already waterlogged soil
Frequently asked
Can I bury the bottle?
Yes, but keep the refill opening accessible and test that soil does not clog the holes.
Does this work for indoor plants?
It can, but test carefully in a tray first to avoid overflow on floors or shelves.