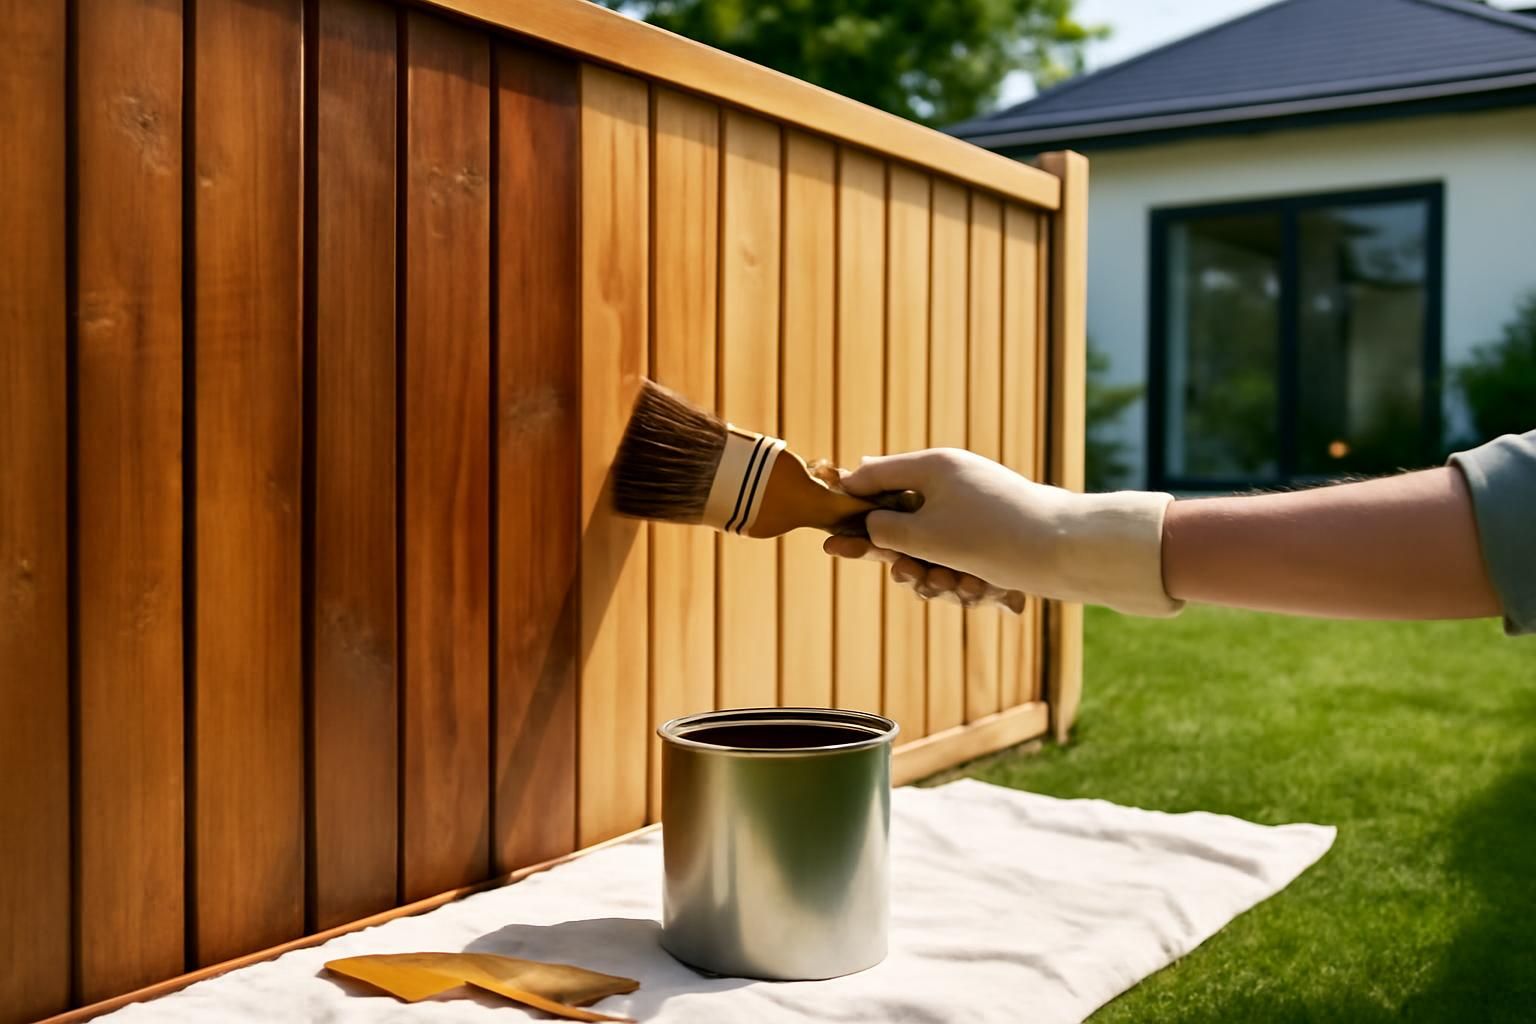
Quick answer
Clean the fence, let it dry, then brush or spray stain from the top down in thin, even coats. Work on a dry day with no rain forecast for twenty-four hours. Cover plants and paving to catch drips.
A bare wooden fence absorbs rain, warps, and turns silver-grey within a year. Staining protects the timber, extends its life, and improves the look of your garden. Most fences need re-treating every two to three years depending on exposure.
What you’ll need
- wood stain or preservative
- brush or sprayer
- drop cloths
- wire brush
- sandpaper
- masking tape
Step by step
- 1
Check the weather
Pick a dry day with temperatures between ten and twenty-five degrees Celsius and no rain forecast for at least twenty-four hours. Stain will not bond properly to damp wood or wash off before it cures.
- 2
Prepare the fence
Lay drop cloths along the base to protect grass and paving. Brush off loose dirt, moss, and flaking old finish with a wire brush. Sand rough or splintered areas lightly. Replace any broken boards or nails first.
- 3
Mask and cover
Tape off nearby walls, posts, or fittings you do not want to stain. Tie back or cover plants within a metre of the fence. Stain drips can damage foliage.
- 4
Stir and test the stain
Stir the tin thoroughly to mix any settled pigment. Brush a small test patch on an inconspicuous area and let it dry. Check that you like the colour and that it absorbs evenly.
- 5
Apply the stain
Dip a brush or load a sprayer and work from the top of the fence downward. Brush in the direction of the grain in long, smooth strokes. Overlap each stroke slightly to avoid stripes. Apply two thin coats rather than one thick coat for better penetration and a smoother finish.
- 6
Clean up and dry
Remove masking tape while the stain is still slightly tacky to avoid peeling. Close the tin tightly. Clean brushes with the solvent recommended on the label. Leave the fence untouched for the full drying time stated on the tin.
Stain and wood preservative fumes are harmful. Work in a ventilated area, wear a respirator rated for solvent vapours (for example FFP2 or an organic-vapour cartridge) if spraying, and keep pets and children away until the surface is fully dry.
Common mistakes
- Staining over damp or dirty wood, which causes flaking and patchy colour.
- Applying one heavy coat, which runs, drips, and dries unevenly.
- Spraying on a windy day, which coats nearby plants, windows, and cars.
- Ignoring the bottom edge of fence boards, which absorbs ground moisture and rots first.
Frequently asked
Should I use a brush or a sprayer?
A brush gives better control and pushes stain into the grain. A sprayer is faster on long runs but needs careful masking and calm weather. Many people spray first, then back-brush for penetration.
Can I stain a new fence straight away?
Wait four to eight weeks. New pressure-treated timber is often damp inside, and stain will not adhere well until the wood has seasoned and the surface fibres have weathered slightly.