Quick answer
Lay out all parts and hardware, follow the instructions in order, tighten cam locks finger-tight until the carcass is square, then go firm.
Flat-pack furniture is cheap and convenient, but rushing the build leads to wobbly units and visible damage. Spending ten minutes on preparation saves an hour of disassembly. This guide covers layout, sequence, and the tricks that keep the finish clean.
What you’ll need
- Allen keys
- Rubber mallet
- Screwdriver
- Large set square or tape measure
- Scrap wood offcut
- Sticky notes
- Torch or bright light
Step by step
- 1
Inventory and layout
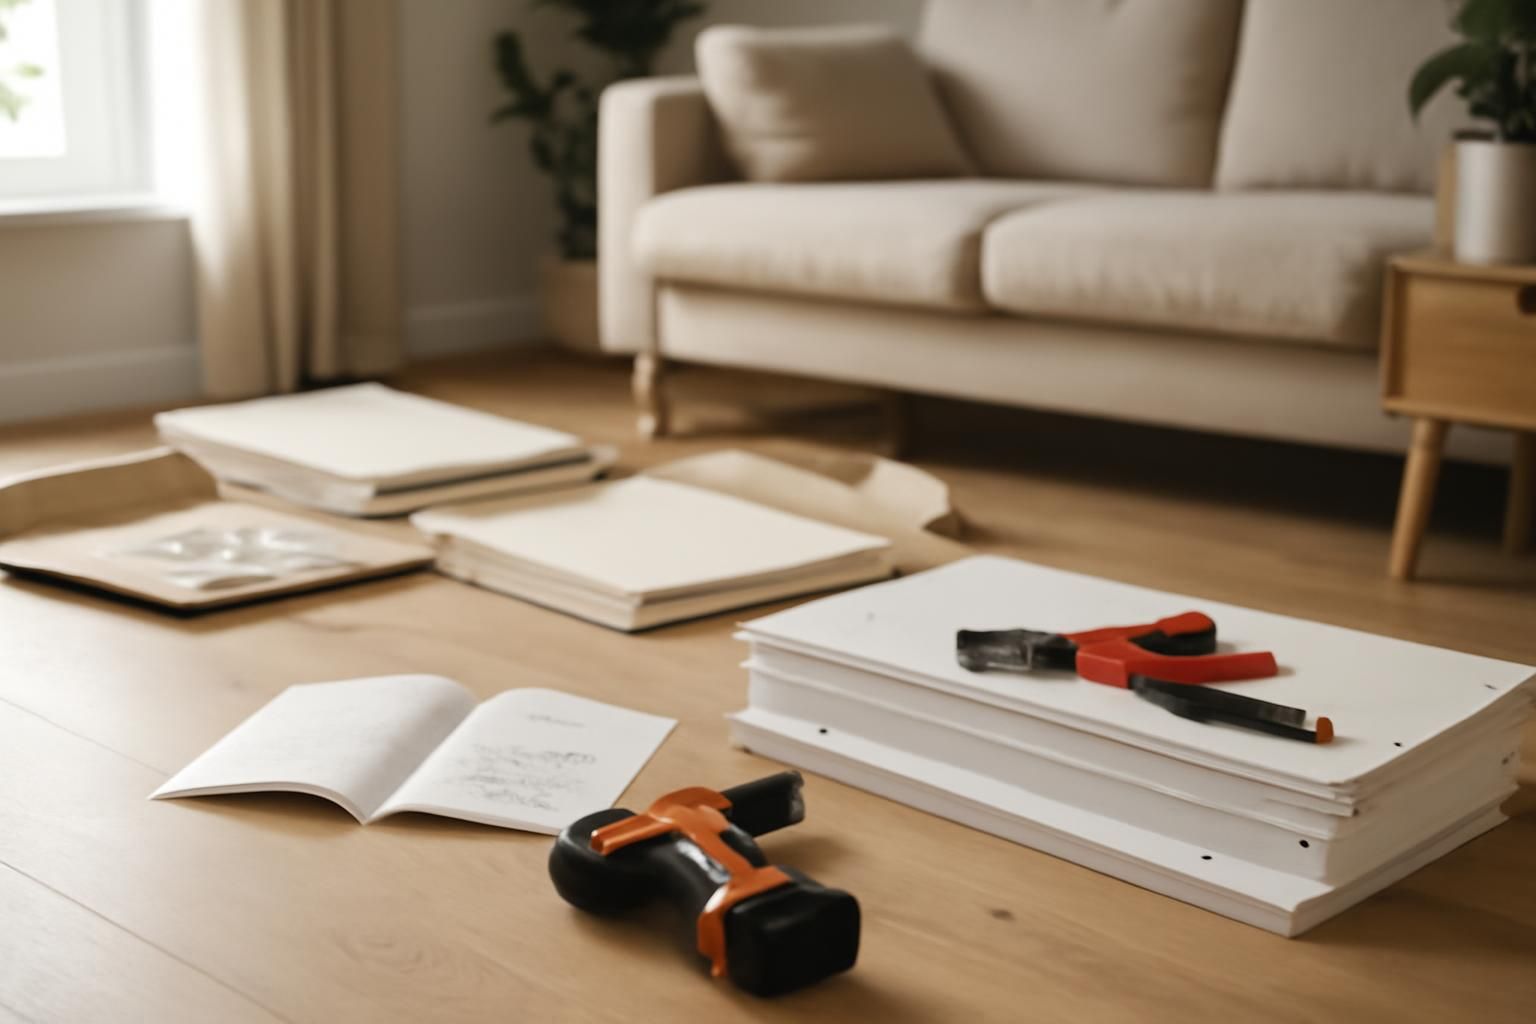
Clear a large floor space and lay out every panel face-up. Open one hardware bag at a time and sort cams, dowels, and screws into separate piles. Count everything against the parts list before you start. Missing hardware discovered at step 18 is avoidable.
- 2
Mark panel faces
Many panels look identical on both sides. Mark the inside face with a sticky note during layout. This prevents fitting a panel the wrong way round and leaving visible seams on the outside.
- 3
Insert dowels and cam bolts
Tap dowels into the pre-drilled holes with a rubber mallet over a scrap of wood to avoid splitting the edge. Screw cam bolts into the correct panels. Do not overtighten anything yet — keep every fastener finger-tight.
- 4
Join panels and check squareness
Assemble the carcass loosely. Measure the diagonals from corner to corner with a tape measure, or use a large set square. Adjust until the measurements are equal. A racked carcass will never close properly and stresses the fixings.
- 5
Tighten in sequence
Once the unit is square, tighten the cam locks in a crisscross pattern, not one side at a time. This keeps the tension even and prevents racking. Go firm, but stop when you feel resistance — overtightening strips the cams or splits the board.
- 6
Fit backs, shelves, and doors
Install the back panel, shelves, and doors according to the diagrams, not from memory. Check the direction of visible grain or finished edges. Adjust door hinges so gaps are even.
Lifting heavy panels alone can strain your back or trap fingers. Ask for help with large wardrobes or wall units. When fixing a tall unit to a wall, locate studs or use solid masonry fixings rated for the loaded weight. A falling wardrobe is a serious hazard.
Common mistakes
- Tightening cam-lock fasteners fully one at a time rather than in sequence — causes racking that is hard to correct.
- Losing or mixing up the small hardware bags by opening everything at once onto the floor.
- Skipping the instruction diagrams and guessing shelf direction — leading to visible seams or a back panel fitted backwards.
- Using a hammer directly on cam-lock faces — this splits the laminate. Use a rubber mallet with a wood offcut.
Frequently asked
Can I build flat-pack furniture on my own, or do I need two people?
Small items like bedside tables are fine alone. Large wardrobes, tall bookcases, and wall-mounted units need two people to hold panels square while you fasten them. Do not struggle alone — a slipped panel damages the fixings.
What should I do if a cam lock hole is in the wrong position or the panel splits?
Stop immediately. Take photos and contact the retailer for a replacement panel. Do not try to redrill cam-lock holes yourself — the tolerances are tight and a misaligned hole weakens the joint.
How do I stop a flat-pack wardrobe from wobbling once assembled?
Check that the carcass is square by measuring the diagonals. Tighten all cams evenly. If it still wobbles, the floor may be uneven — adjust the feet if fitted, or slide thin card under the low corner. For tall units, fix them to the wall with a bracket.