Quick answer
Reach the strong material behind the plaster, then fix into it. Screw straight into a stud with a heavy-duty picture hook, or use the right anchor for the wall: a toggle bolt for lath-and-plaster on wood studs, an expanding masonry anchor for plaster over brick or block. Spread anything over about 7 kg (15 lb) across two fixings. A nail tapped into bare plaster will not hold.
Plaster walls come in two broad types, and the wrong fixing either cracks the wall or drops your picture. Older homes usually have lath-and-plaster: thin wood strips nailed across the studs with plaster troweled over them. Newer or renovated homes tend to have a thin plaster skim over plasterboard, or over solid brick or block. The plaster face has almost no holding power on its own. The whole job is reaching the strong material behind it and picking a fixing that grips that material without crumbling the plaster. This guide covers identifying your wall, finding the backing, and mounting a heavy frame so it stays up.
What you’ll need
- Cordless drill/driver
- Masonry drill bits for plaster over brick/block, plus HSS bits for wood
- Stud/joist detector with a metal and AC live-wire mode
- Spirit level
- Tape measure and pencil
- Screwdriver
- Vacuum or damp cloth for dust
Materials
- Two D-rings or strap hangers fitted to the frame, plus picture wire rated above the frame weight (or hang from the D-rings directly)
- For wood studs: heavy-duty picture hooks rated for the weight, or wood screws long enough to bite at least 25 mm (1 inch) into the stud
- For lath-and-plaster between studs: metal toggle bolts (spring or gravity) sized to the load
- For plaster over brick/block: expanding masonry/frame anchors and matching screws
- Masking tape to reduce surface chipping when drilling
Step by step
- 1
Weigh the picture and pick your target capacity
Put the framed picture on a scale. Choose fixings and hooks rated well above that weight, not right at it, and plan to split the load across two points. Two fixings keep the frame level, share the weight, and stop it pivoting if one point ever loosens.
- 2
Identify the wall type
Tap the wall and probe an out-of-sight spot. A hollow knock with a little give usually means lath-and-plaster or plaster over board. A dead, solid knock that throws off grit means plaster over brick or block. A small test hole settles it: brick or block gives reddish or grey grit, while lath gives wood shavings and then a void behind.
- 3
Find studs and check for hidden wiring or pipes
Run a stud detector across the wall to mark stud or joist centres, then switch it to AC/live-wire mode to check for cables before you drill. Cables usually run vertically above and below switches and sockets, so steer clear of those lines. On lath-and-plaster the detector can read erratically, so confirm a stud with a fine test hole if you are unsure.
- 4
Mark the hanging points and level them
Measure the drop from the top of the frame to the hanging hardware so the picture lands where you want it. Mark both fixing points and check they sit level with a spirit level. Wire-hung frames pull up to a peak between the two hooks, so set those marks a little higher than the finished top edge.
- 5
Drill carefully to protect the plaster face
Stick a square of masking tape over each mark so the surface does not chip. Start on low speed with no hammer action to get through the plaster. Switch to hammer/masonry mode only once you hit brick or block. For wood studs and lath, leave hammer action off the whole time. Pilot with a smaller bit first, then open the hole to your anchor size.
- 6
Set the right fixing for the wall
Into a stud: drive a heavy-duty picture hook or a wood screw that bites at least 25 mm (1 inch) into the timber. Into lath-and-plaster between studs: push a toggle bolt through the hole into the cavity so the wings spring open behind the lath, then tighten. Into plaster over brick/block: tap an expanding anchor right through the plaster and into the masonry so it grips the solid material rather than the plaster skim, then drive the screw.
- 7
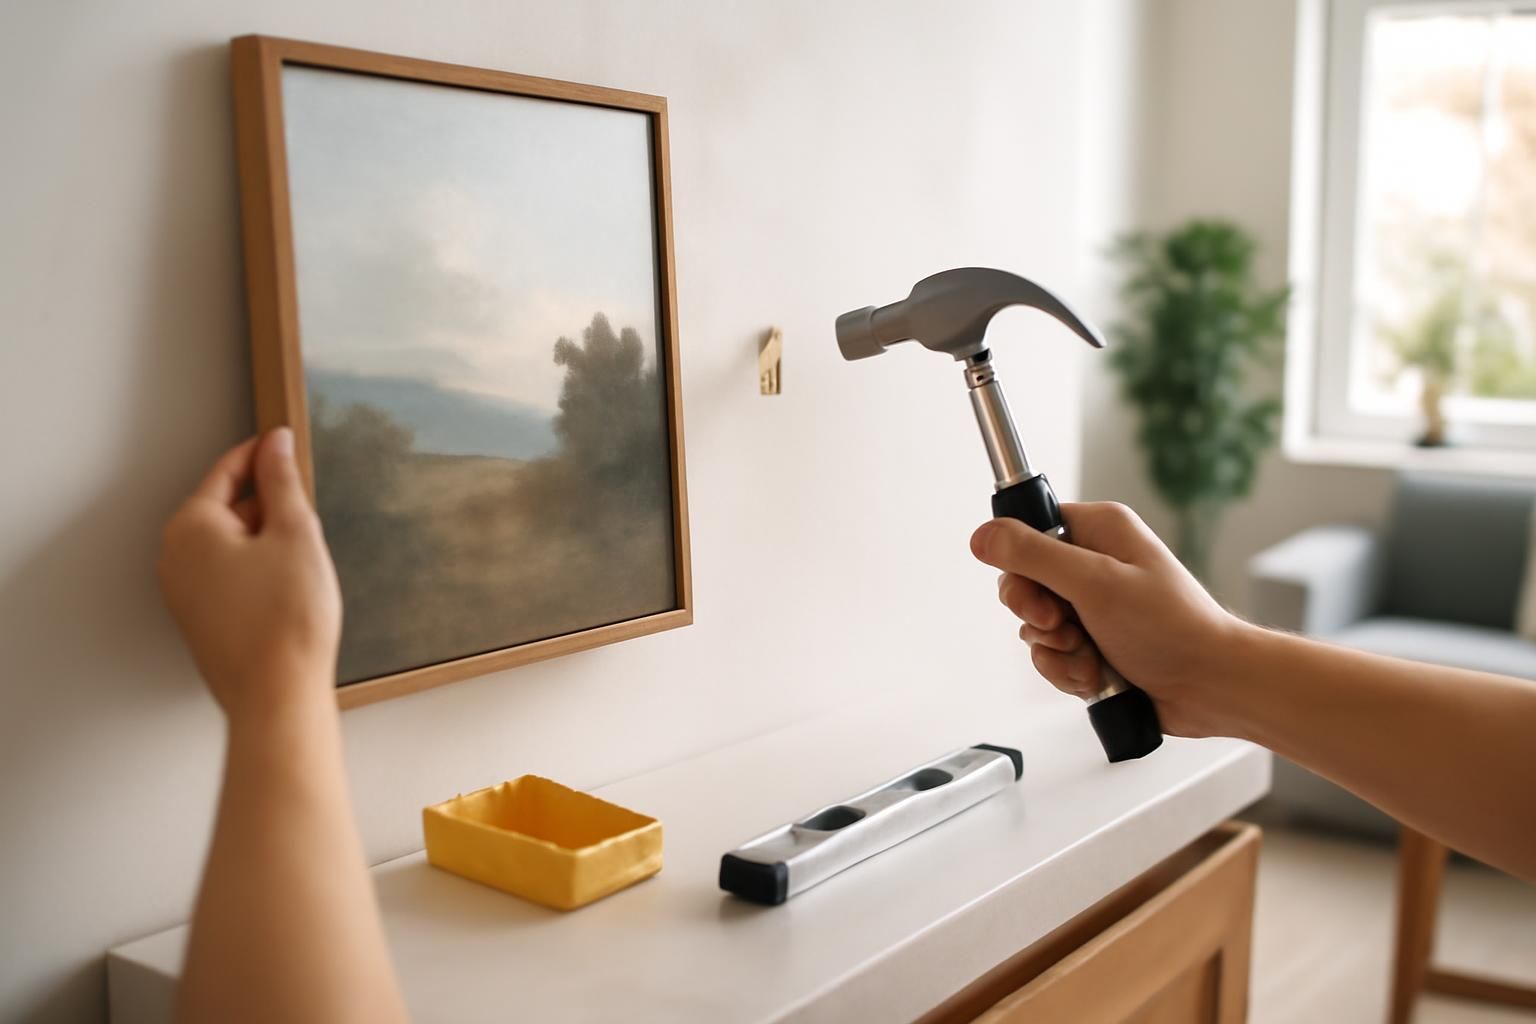
Hang, level and load-test
Hang the frame on both points and check level. Press down firmly with both hands to put a few times the picture's weight on the fixings for a moment. If anything shifts, crumbles or pulls out, stop and move to a stud or step up to a larger anchor. Re-check level and adjust.
Scan for live wiring and pipes before you drill. Cables commonly run vertically above and below sockets and switches, and horizontally near the ceiling. Drilling into a cable can cause electric shock or fire; drilling into a pipe causes a flood. If the detector reads uncertain or you cannot keep clear of a suspect zone, stop and get a qualified electrician or plumber to check it. Old lath-and-plaster cracks easily, so never hammer a fixing straight into it.
Common mistakes
- Trusting a nail or pin pushed into bare plaster. It has almost no pull-out strength and lets go over time.
- Using plasterboard anchors in lath-and-plaster. The cavity behind lath is shallow and irregular, so many of them never seat properly.
- Drilling with hammer action through lath-and-plaster, which shatters the plaster and splits the lath instead of cutting a clean hole.
- Setting a masonry anchor so it grips only the soft plaster skim instead of reaching the brick or block behind it.
- Hanging everything from one point, which overloads a single fixing and lets the frame tilt or spin.
- Skipping the wiring and pipe scan and drilling blind near sockets or switches.
Frequently asked
Do I have to hit a stud, or can I anchor into the plaster between studs?
A stud is the strongest option and the best choice for the heaviest pieces. Between studs you can still hang heavy items: a toggle bolt in lath-and-plaster, or a masonry anchor where the plaster sits over brick or block. Match the fixing to whatever is actually behind the plaster.
How heavy is too heavy for a DIY plaster fixing?
There is no single number, because it depends on the wall and the anchors. Large mirrors and big framed pieces put real strain on old plaster. If the wall is crumbling, the plaster has come loose from the lath, or you are unsure it can take the load, get a builder or handyperson to assess it. Spreading the weight across two or more solid fixings is what makes heavy hanging safe.
My plaster cracked around the hole. What now?
Small surface chips are cosmetic and fill easily. If the plaster crumbled into a void or the lath shifted, that fixing point is compromised. Move to a stud or use a larger toggle that bridges intact lath, then fill the failed hole once the new fixing is set.
Can I just use adhesive hooks instead?
Adhesive hooks are rated for light items only, and they do not bond reliably to textured or chalky old plaster. A heavy picture needs a mechanical fixing into the backing material.
What if there's no stud where I want to hang it?
Use a plasterboard or plaster anchor rated for the weight — toggle bolts and metal self-drive anchors hold far more than a bare screw. For anything heavy, spreading the load across two fixings is safer than relying on one.
How much weight can a plaster wall hold?
It depends on the fixing, not just the wall. A screw into a stud handles the most; a good toggle bolt in plasterboard can hold several kilograms; a bare hook in plaster alone holds very little. Match the anchor's rated weight to the frame and add a margin.
The plaster is just the skin. Every secure heavy fixing reaches the strong material behind it, whether that is a wood stud, the lath, or the brick. Identify that material first, and the right anchor choice follows.