Quick answer
Rake out the crack, brush away dust, dampen, fill with suitable filler, sand flush, then spot-prime before painting.
Repair hairline and small cracks in plaster walls so they stay filled and do not show through paint.
What you’ll need
- Basic DIY
Step by step
- 1
Assess the crack
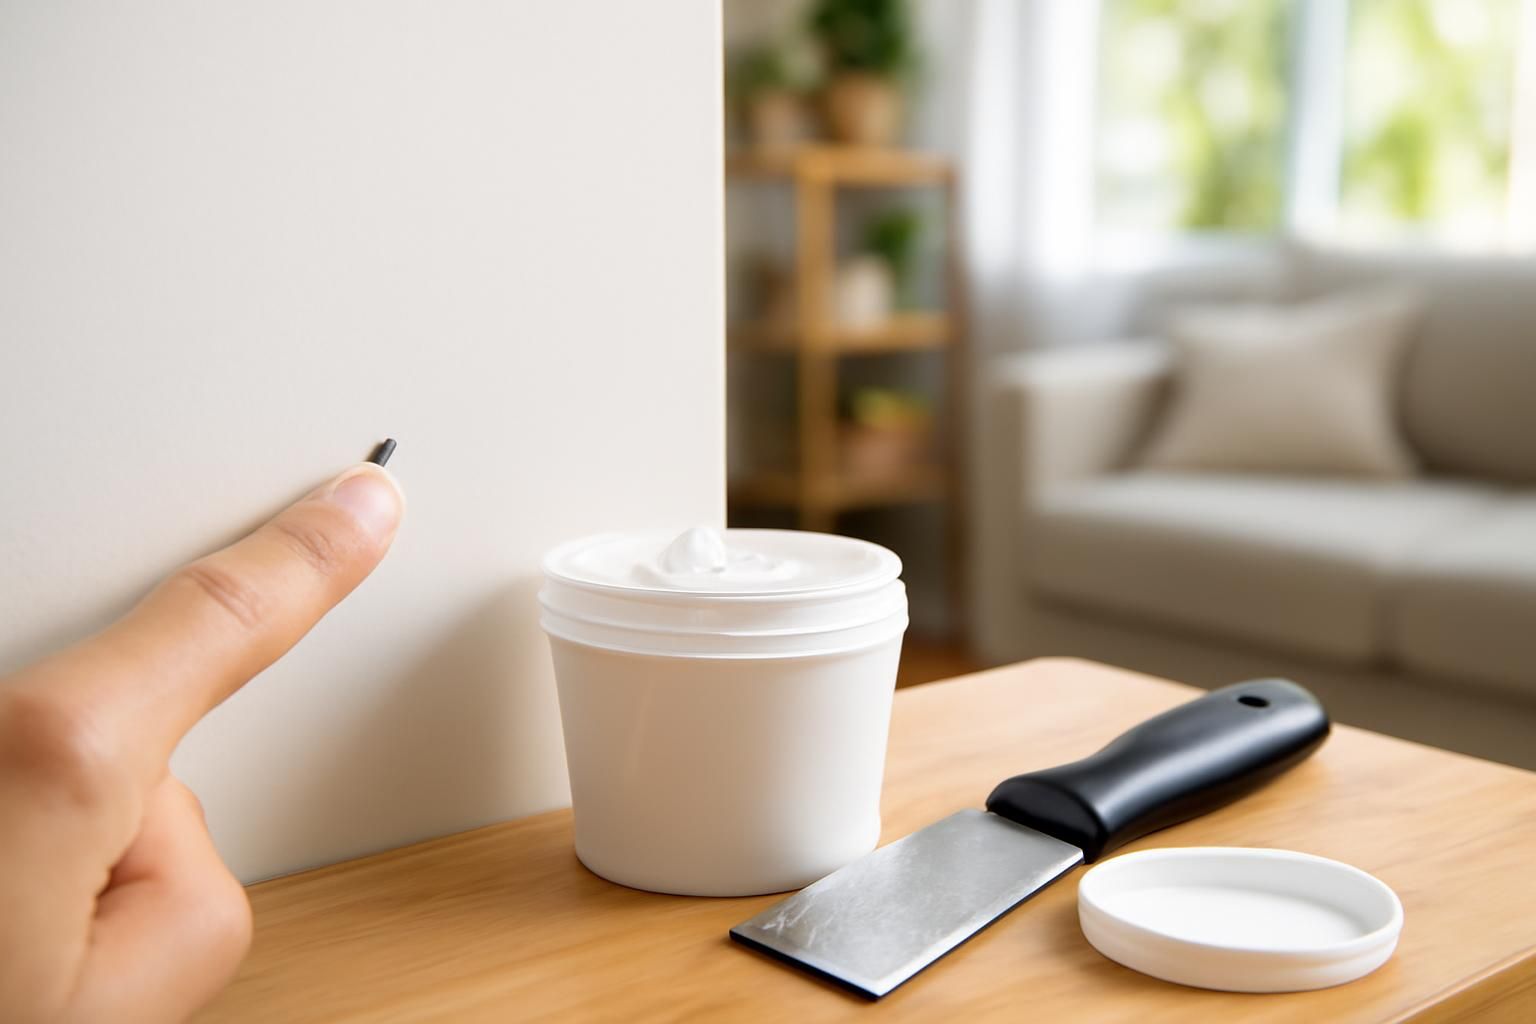
Check the width and pattern. Hairline cracks along joints or settlement lines are usually cosmetic. If a crack is wider than 5mm, growing, diagonal across a corner, or accompanied by sticking doors, stop and get a structural engineer.
- 2
Rake out and undercut the crack
Use the edge of a filling knife or a narrow scraper to widen the crack slightly and undercut the edges. This creates a key so the filler grips and does not fall out.
- 3
Remove dust and dampen
Brush out all loose dust and debris with a dry paintbrush or vacuum. Dampen the inside of the crack with a wet cloth. This stops the dry plaster sucking moisture out of the filler too quickly.
- 4
Apply filler in layers if deep
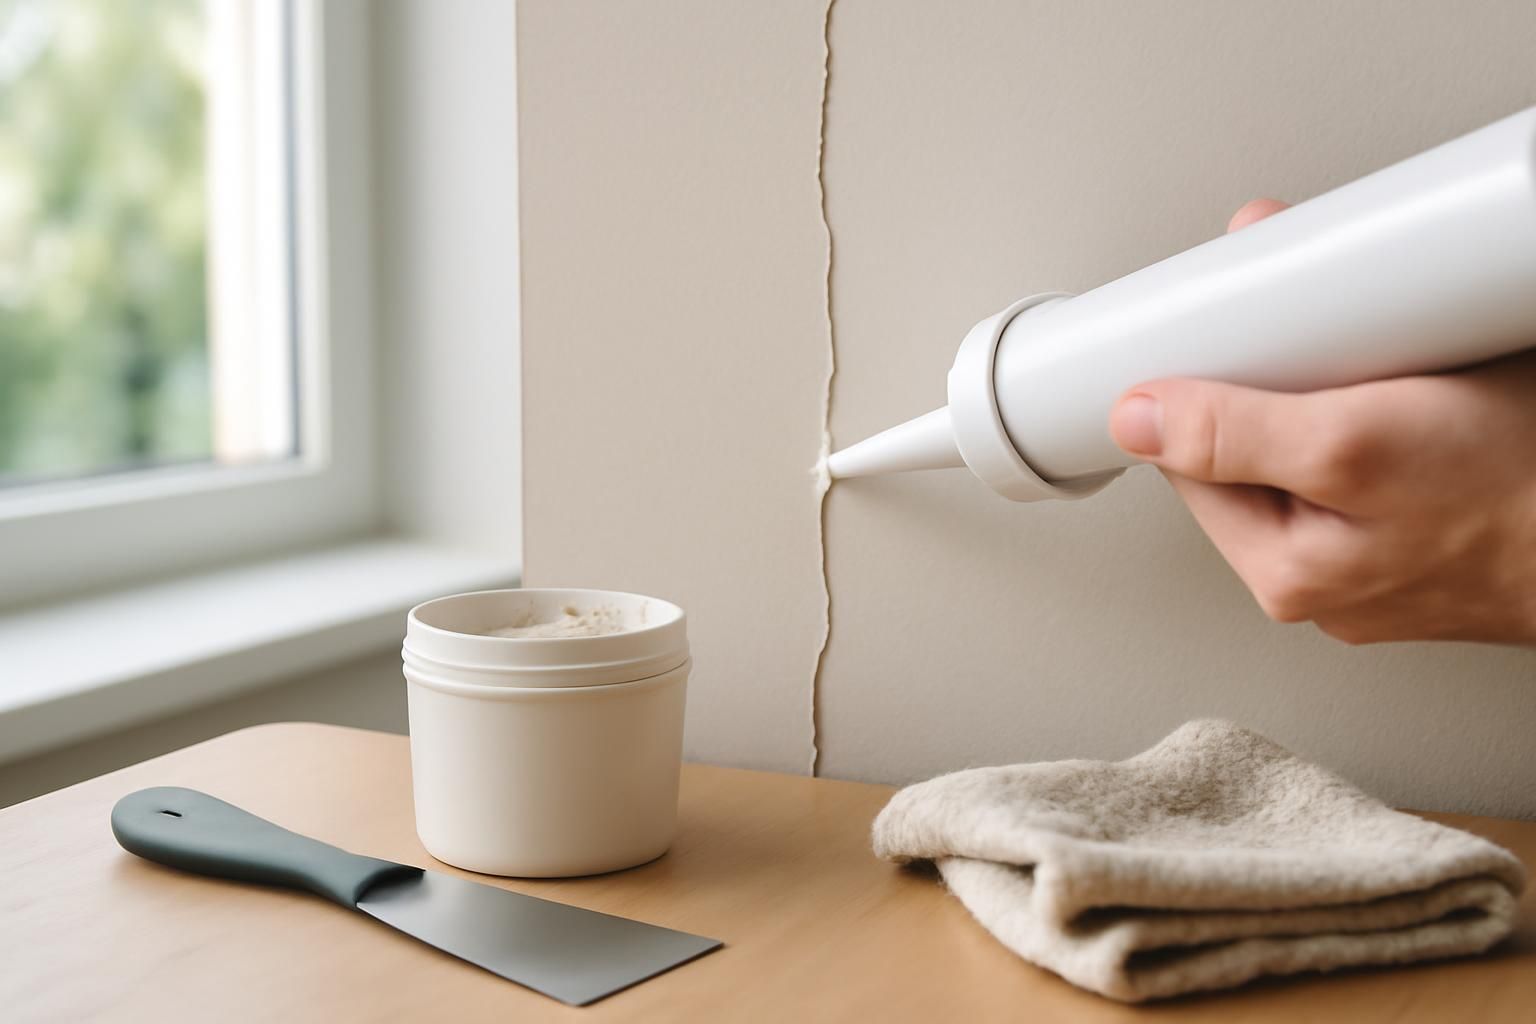
Press filler firmly into the crack with a filling knife. For deep cracks, build it up in layers no thicker than 10mm at a time, letting each layer dry before adding the next. Use flexible caulk for junctions that move, such as wall-to-ceiling corners or around door frames.
- 5
Leave filler proud to sand
Smooth the filler with a knife but leave it slightly proud of the surface. Filler shrinks as it dries, so overfilling ensures it ends up flush after sanding.
- 6
Sand flush once dry
When the filler is fully dry, sand it flat with fine sandpaper on a block. Feather the edges so the repair blends into the surrounding wall. Wear a dust mask.
- 7
Spot-prime before painting
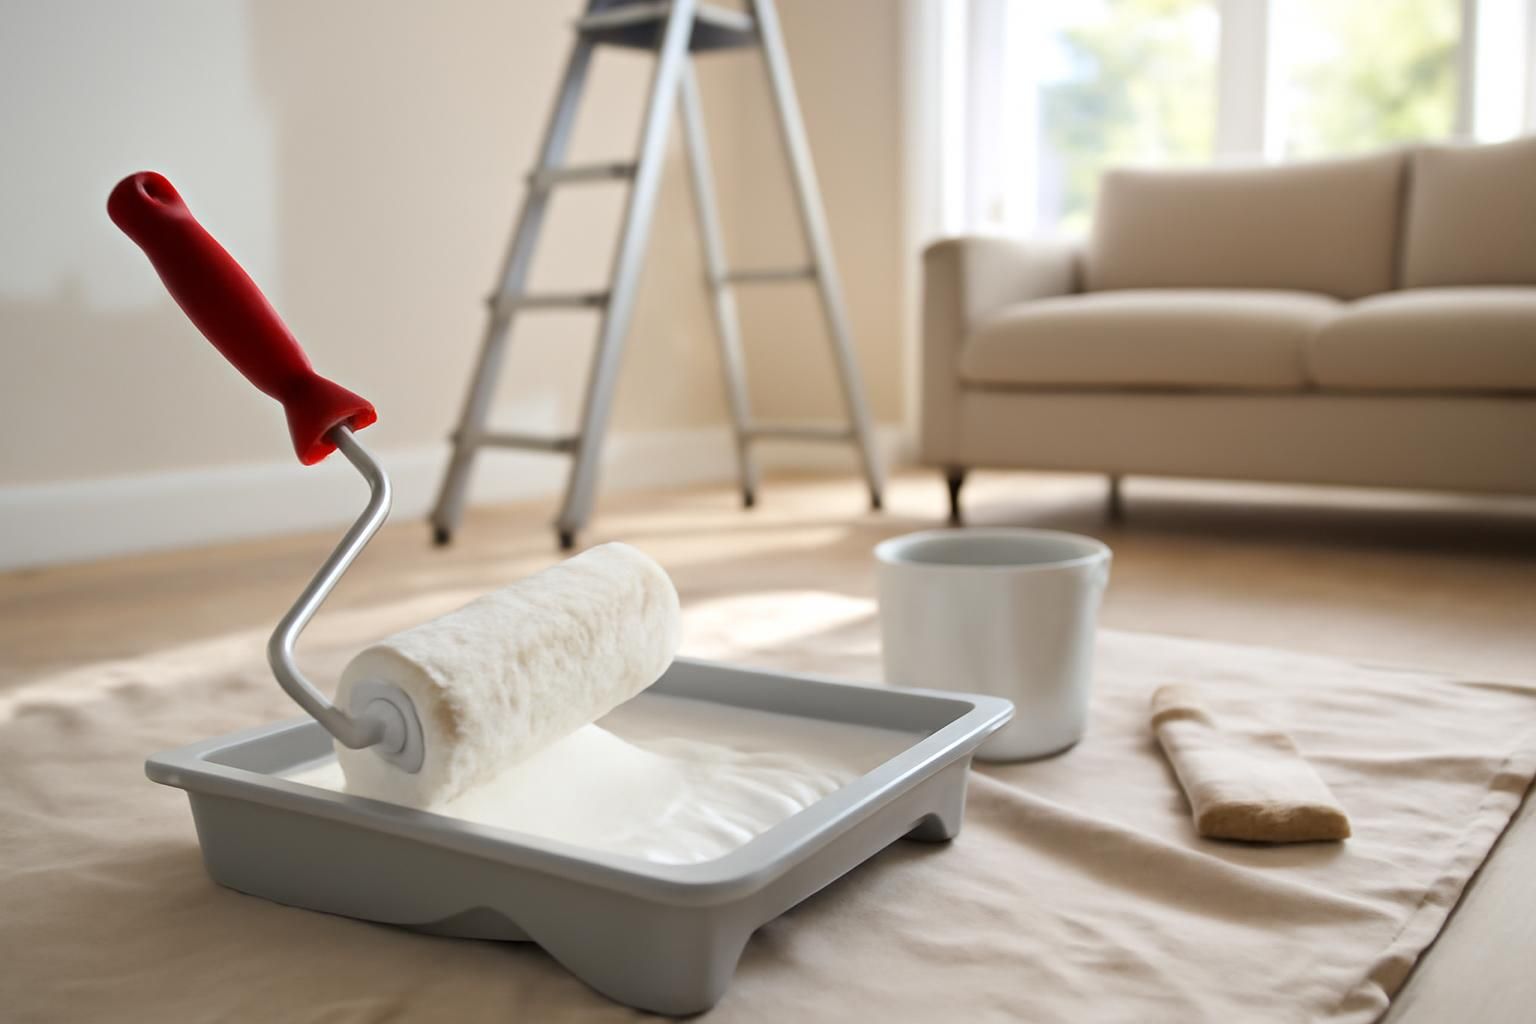
Brush a coat of primer or sealer over the filled area before you paint. Bare filler is porous and will absorb paint differently, causing a visible flash or patchy finish.
Common mistakes
- Filling over dust or loose material so the repair does not bond and cracks again.
- Using rigid filler on a moving junction instead of flexible caulk, which causes the crack to reopen.
- Skipping sanding and priming, so the repair flashes through the paint as a dull patch.
Frequently asked
Which cracks are cosmetic and which are structural?
Hairline cracks along plaster joints or small settlement lines are usually cosmetic. Structural cracks are wider than 5mm, growing quickly, diagonal across corners, stepped through brickwork, or paired with sticking doors or windows. Get professional advice for the latter.
What's the best filler for a deep crack?
Deep cracks need a powder filler that you mix yourself, built up in thin layers. Ready-mixed filler is fine for shallow dents. For cracks deeper than 10mm, fill in stages and let each layer dry.
Why does my filler keep cracking in the same place?
It usually means the surface moves. Rigid filler cannot flex, so use flexible decorators' caulk at junctions like wall-to-ceiling lines or around timber frames. Make sure you also remove dust and dampen the crack first.
Do I need to prime filler before painting over it?
Yes. Filler is more porous than plaster, so it absorbs paint and creates a dull patch called flashing. A coat of primer or sealer evens out absorption before you apply the topcoat.
Why has my filler sunk below the surface as it dried?
Filler shrinks as the water evaporates. Always overfill slightly and sand back flush once dry. Deep repairs may need a second thin layer after the first has shrunk.