Quick answer
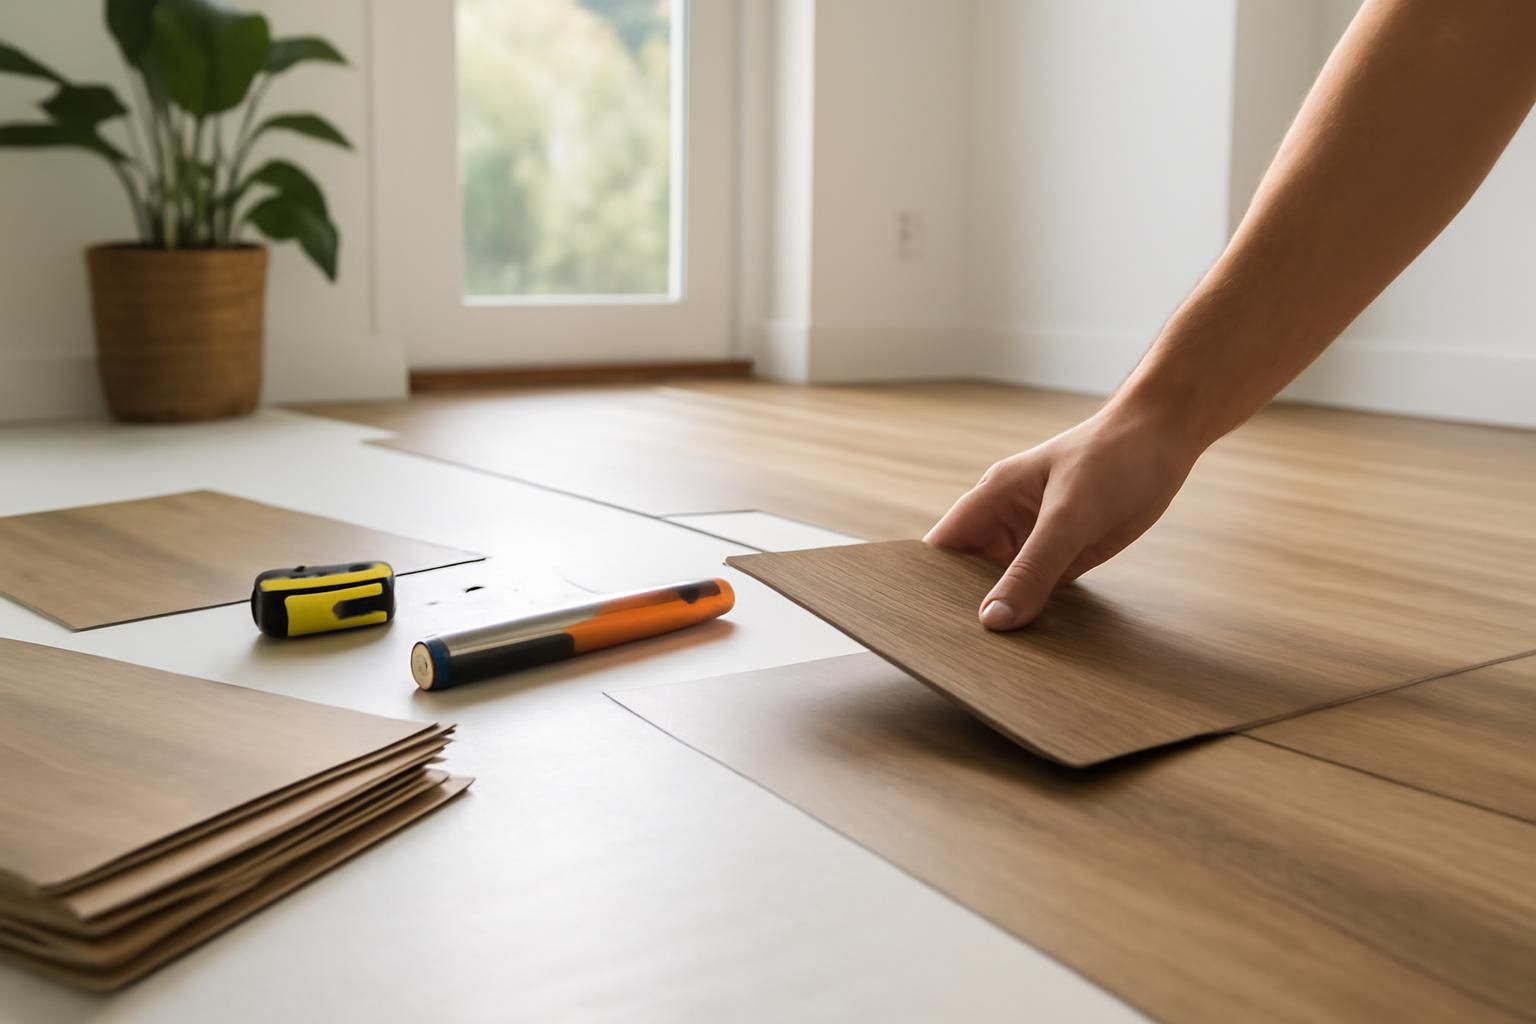
Let vinyl tiles acclimatise in the room for at least 24 hours. Find the centre, snap chalk lines, and lay tiles from the middle outwards. Cut with a metal ruler and craft knife. Press peel-and-stick tiles down with a floor roller to avoid lifting corners.
Vinyl floor tiles are one of the cheapest ways to update a room. The job is straightforward, but two steps make the difference between a floor that lasts and one that buckles: acclimatising the tiles for 24 hours before fitting, and starting from the centre of the room rather than a corner. This guide covers both self-adhesive peel-and-stick tiles and dry-lay click-vinyl planks.
What you’ll need
- vinyl tiles (plus 10% extra for cuts)
- tape measure
- chalk line
- metal ruler
- sharp craft knife
- floor roller (for self-adhesive tiles)
- knee pads
- dust mask and vacuum (for subfloor prep)
Step by step
- 1
Acclimatise the tiles
Leave the tiles flat in the room at normal room temperature for at least 24 hours before fitting. Skipping this causes expansion and buckling after installation.
- 2
Prepare the subfloor
Sweep and vacuum thoroughly. Fill dips deeper than 3 mm with levelling compound. Remove old adhesive residue. The subfloor must be flat, clean, and dry.
- 3
Find the centre
Measure the midpoint of each wall. Snap chalk lines between opposite walls to mark the exact centre. Dry-lay a row of tiles along both lines without peeling backing or clicking together.
- 4
Lay the first tiles
Start at the centre intersection and work out towards the walls. For self-adhesive tiles, peel and stick one at a time. For click planks, angle and click according to the manufacturer's instructions.
- 5
Cut tiles to fit
Score a straight line twice with a craft knife against a metal ruler, then snap the tile. For awkward shapes around pipes or curved skirting, make a cardboard template first and trace it onto the tile.
- 6
Roll the floor
If using self-adhesive tiles, run a floor roller over the entire floor once all tiles are down. This presses out air pockets and stops corners from lifting.
Vinyl tiles and adhesives can emit fumes. Work in a well-ventilated room and keep the door open. If you are sensitive to solvents, wear a mask rated for VOCs and take regular breaks. Do not lay tiles in a room with poor airflow.
Common mistakes
- Starting from a corner rather than the centre — this leaves awkward narrow cuts at opposite walls and creates a lopsided pattern.
- Skipping acclimatisation — tiles expand after fitting, causing seams to rise and gaps to open at the edges.
- Pressing peel-and-stick tiles down without a floor roller — small air pockets cause corners to lift within days.
Frequently asked
Can vinyl tiles be laid over existing floor tiles or laminate?
Only if the existing surface is perfectly flat, clean, and firmly stuck down. Old tiles with loose corners or laminate with uneven joints will telegraph through and cause the new layer to lift. It is usually safer to remove the old floor first.
How do I cut vinyl tiles around a toilet base or curved skirting board?
Make a cardboard template of the shape. Trace it onto the tile and cut carefully with a sharp craft knife. Take your time: several shallow cuts are safer than one deep one.
What is the difference between luxury vinyl tile (LVT) and standard self-adhesive vinyl tile?
LVT is thicker, more rigid, and usually clicks together or uses a separate adhesive. It is more durable and better at hiding subfloor flaws. Standard self-adhesive vinyl tile is thinner, cheaper, and sticks directly to the floor, but it shows every bump underneath.