Quick answer
Cut out the old silicone completely, clean and dry the surfaces, fill the bath with water, then apply a bead of sanitary-grade silicone and smooth it with a wetted finger. Leave it for 24 hours before emptying the bath or using water.
Bath sealant fails when old silicone is left underneath or the gap is sealed while the bath is empty. Strip it back, prep the surfaces properly, and apply new sanitary-grade silicone for a joint that lasts.
What you’ll need
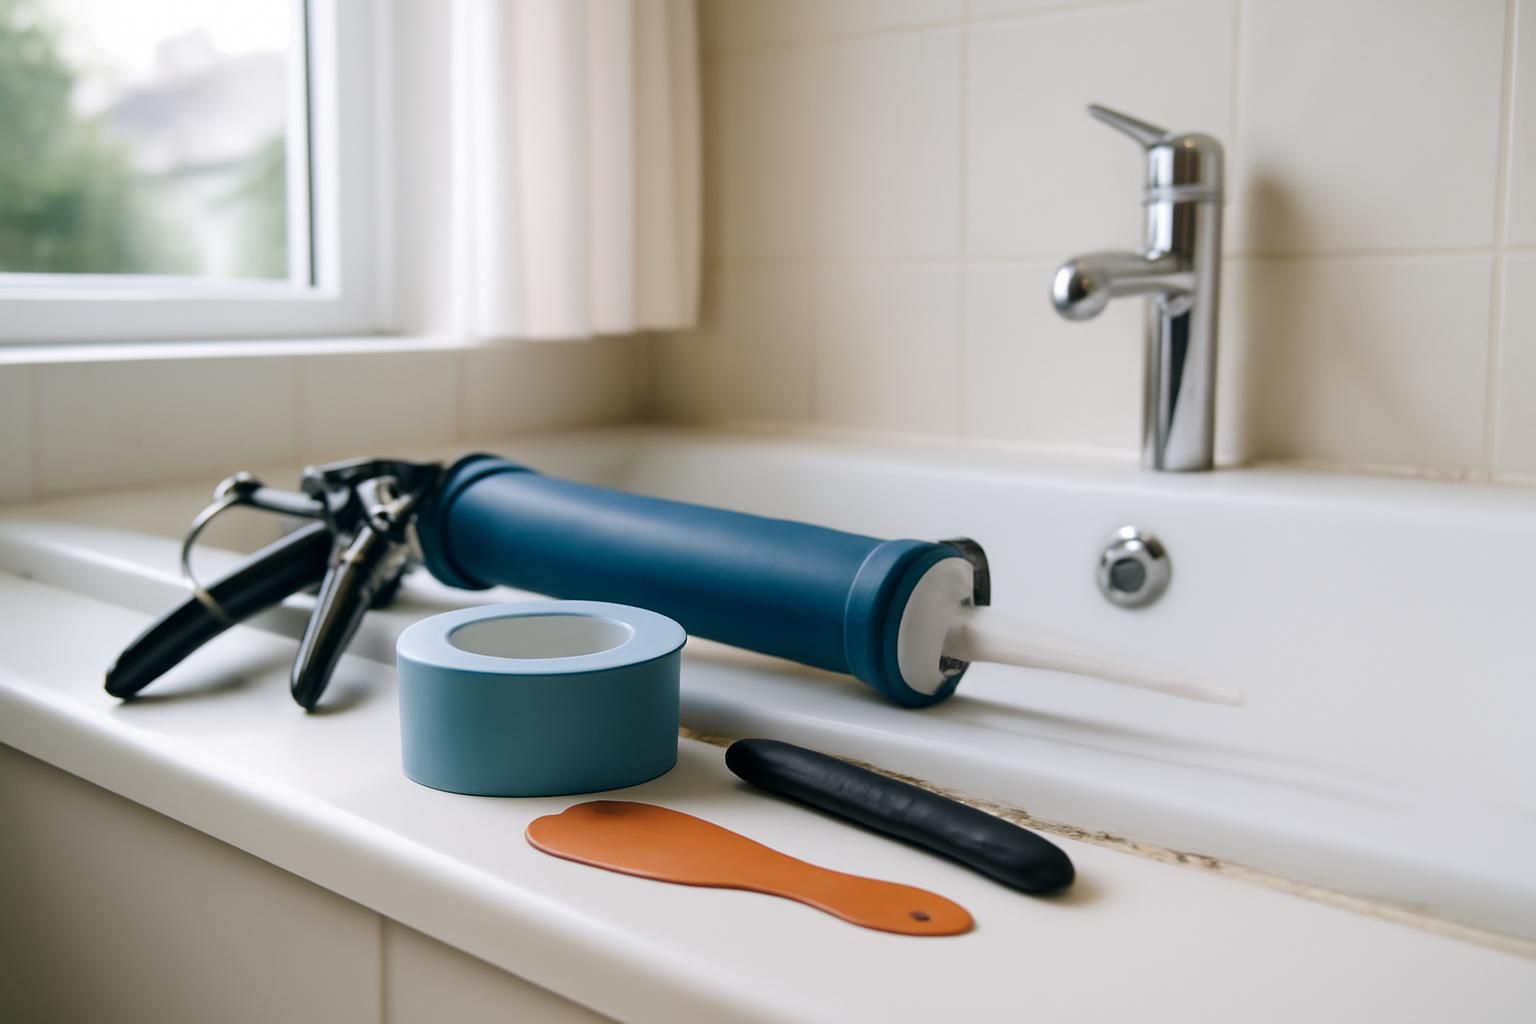
- silicone remover spray
- plastic scraper
- utility knife
- masking tape
- sanitary-grade silicone
- caulking gun
- caulk-smoothing tool or wetted finger
- cloth
- bathroom cleaner
Step by step
- 1
Remove the old silicone completely
Spray silicone remover along the bead and leave it for the time stated on the label. Use a plastic scraper or utility knife to lift the old sealant away. Peel out every trace; new silicone will not bond to residue.
- 2
Clean and dry the surfaces
Wash the gap with bathroom cleaner and rinse. Dry thoroughly with a cloth and leave the room ventilated until the surfaces are bone dry. Any moisture trapped underneath will cause mould.
- 3
Fill the bath with water
Run the bath to its normal level. The weight expands the bath slightly, putting the joint in its true working position. Sealing an empty bath creates a gap that opens when you later fill it.
- 4
Mask the edges
Apply strips of masking tape along the bath rim and the wall, leaving a gap of about 3–5 mm. This keeps the bead neat and gives a clean finish.
- 5
Apply the new silicone bead
Cut the nozzle of the sanitary-grade silicone tube at a 45-degree angle. Load it into the caulking gun and run a steady bead along the joint from one corner to the other.
- 6
Smooth and remove the tape
Wet your finger or a smoothing tool and glide it along the bead in one continuous motion. Pull away the masking tape immediately before the silicone skins over.
- 7
Leave to cure for 24 hours
Keep the bath full and do not use water in the room. Sanitary-grade silicone needs 24 hours to cure fully before it can withstand movement and moisture.
Mould behind failed sealant can signal deeper water ingress, such as a cracked tile or failed waterproof membrane. If the wall behind the sealant line is soft or crumbling, stop and call a tiler or bathroom specialist — this is a substrate repair, not a sealant job.
Common mistakes
- Applying new silicone over old — it never bonds properly and peels within months.
- Not filling the bath with water before sealing — the sealant cracks when a full bath flexes under weight.
- Using the bath within 24 hours — the silicone pulls away from one surface before it has set.
Frequently asked
How long does re-sealing a bath take from start to finish including drying time?
Stripping and re-applying takes 1–2 hours. The silicone needs 24 hours to cure fully before you can use the bath, so allow 25–26 hours total.
Can I use white decorator's caulk instead of silicone around a bath?
No. Decorator's caulk is not waterproof and will soften and peel in damp conditions. Use sanitary-grade silicone only.
How do I remove old silicone without scratching the bath?
Spray on silicone remover and leave it for the time stated on the label. Use a plastic scraper, not metal, and work gently along the joint.