Quick answer
Paste the wall or paper, hang from the centre for patterns or a corner for plain paper, smooth out bubbles, and trim excess with a knife for a clean edge.
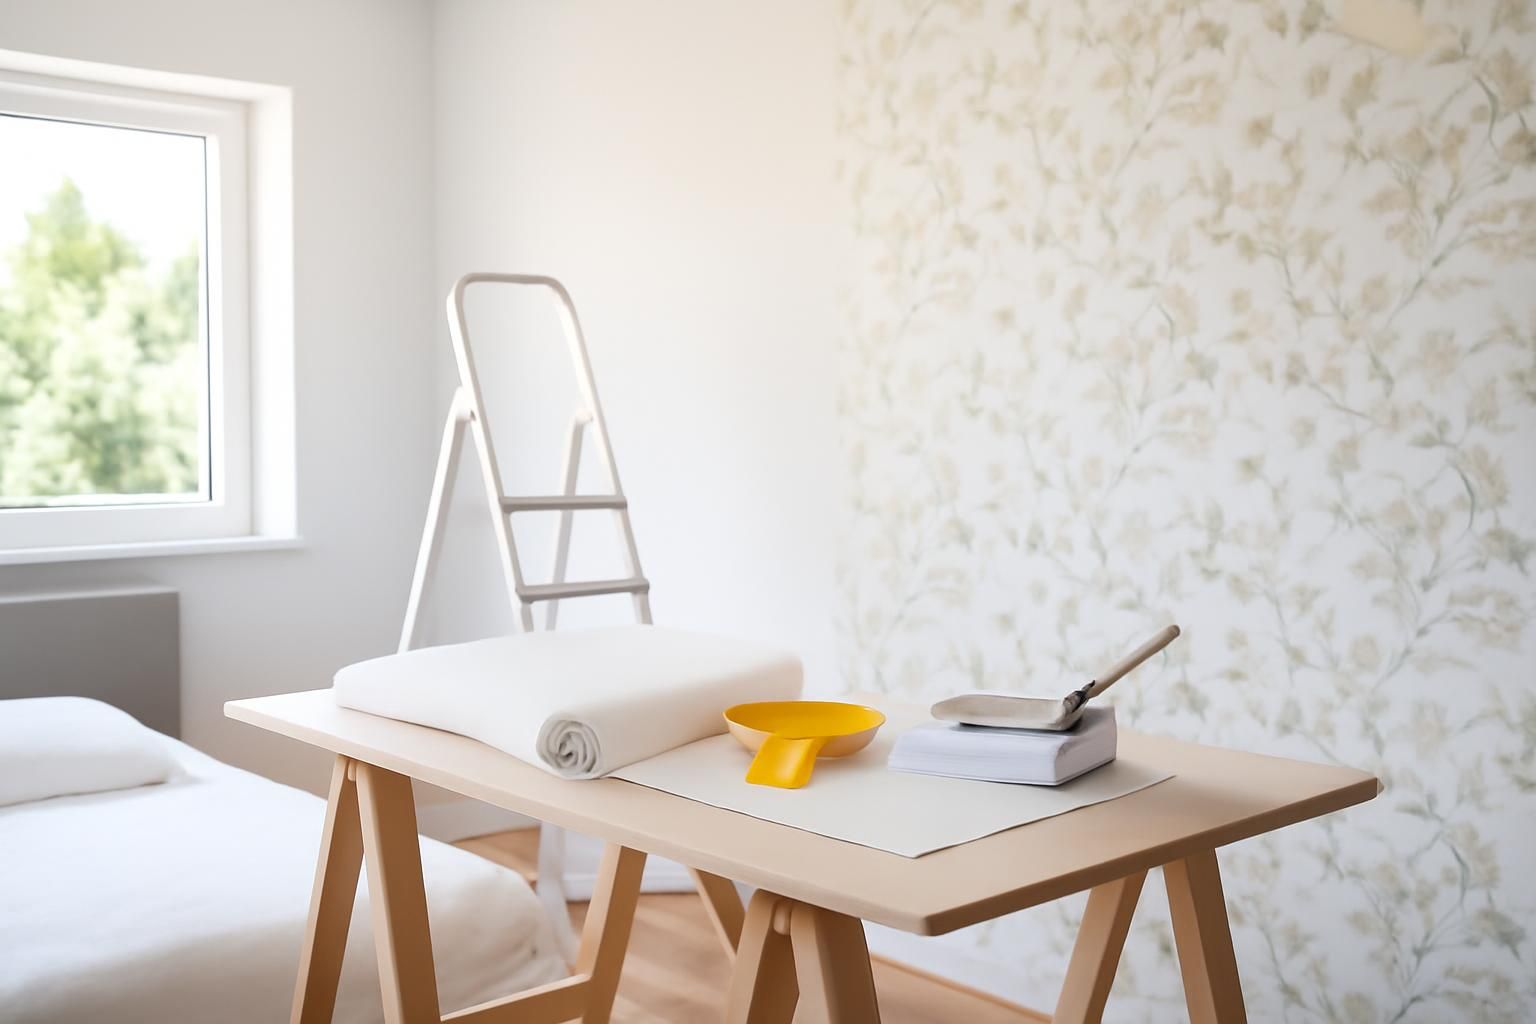
A feature wall is the easiest way to try wallpaper without committing to a full room. One wall gives you a bold result with less waste and fewer seams to align. This guide covers surface prep, pattern matching, and clean trimming for a finish that looks professional.
What you’ll need
- Tape measure
- Spirit level
- Pencil
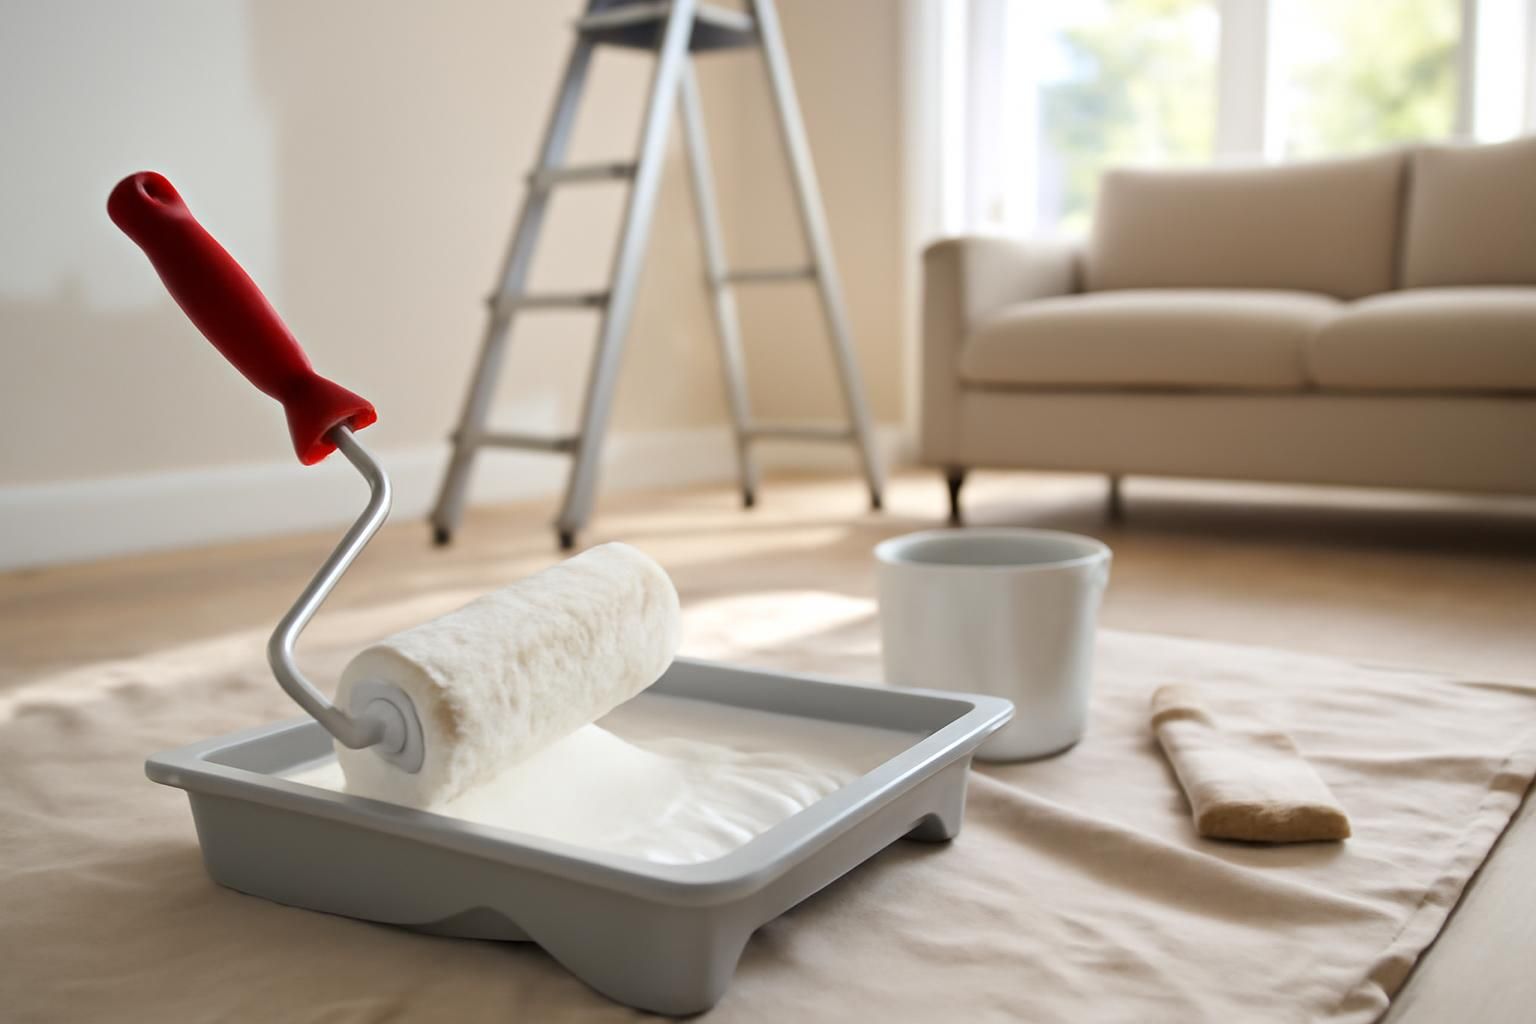
- Wallpaper paste and brush or roller
- Wallpaper (plus extra for pattern matching)
- Seam roller
- Trimming knife
- Metal straight-edge
- Step ladder
- Clean damp sponge
Step by step
- 1
Prep the surface
Fill cracks and sand painted walls lightly. New plaster must be sized with diluted PVA or wallpaper primer first. Skipping this causes bubbles and peeling later. Let everything dry completely.
- 2
Plan the starting point
For patterned paper, find the centre of the wall and mark a vertical plumb line with a spirit level. Start here so the pattern sits symmetrically. For plain or textured paper, start in a corner.
- 3
Cut the first length
Measure the wall height and add 10 cm top and bottom for trimming. For patterned paper, check the pattern repeat on the label and allow for pattern drop — the amount wasted shifting the design to match the next strip.
- 4
Paste and soak
Apply paste evenly to the paper (or wall, for paste-the-wall types). Fold the paper gently paste-to-paste and let it soak for the time stated on the label — usually 5–10 minutes. Dry edges lift within days if you skip this.
- 5
Hang the first strip
Align the top edge to the ceiling, leaving a small overlap. Smooth downwards with a clean damp sponge or wallpaper brush, pushing air bubbles to the edges. Check it is vertical with a spirit level before the paste sets.
- 6
Match and hang subsequent strips
Butt each new strip tightly against the last without overlapping. Match the pattern at eye level before smoothing downwards. Wipe excess paste from the face immediately with a damp sponge.
- 7
Trim neatly
Use a metal straight-edge and a sharp trimming knife to score lightly along the ceiling and skirting line. Peel the excess away carefully. A blunt blade tears the paper; replace it often.
A loose step ladder and a sharp trimming knife are the biggest hazards. Set the ladder on firm, level ground and never overreach. Keep the knife retracted when not in use, and cut away from your body and fingers. A single slip can damage the paper or cause a deep cut.
Common mistakes
- Not letting paste soak into the paper long enough — dry edges lift within days.
- Starting at a corner and assuming it is square — virtually no room has perfectly square corners, causing drops to go off-plumb.
- Using standard paste for heavy vinyl wallpaper — it needs heavy-duty or vinyl-specific adhesive.
- Pressing too hard with the seam roller on textured paper — this flattens the embossing.
Frequently asked
How do I avoid air bubbles when hanging wallpaper?
Smooth each strip from the centre outwards with a damp sponge or wallpaper brush. Small bubbles usually disappear as the paste dries. If a large bubble remains, prick it with a pin and smooth it flat before the paste sets.
Can I wallpaper straight over existing wallpaper?
Only if the old paper is firmly stuck, not vinyl, and has no texture. Even then, sanding and priming is safer. Stripping old paper and starting fresh gives the best result.
How much extra should I buy to account for pattern matching?
Check the pattern repeat on the roll label. Divide the wall height by the repeat and round up. As a rule, buy one extra roll for a feature wall to cover mistakes and pattern drop.