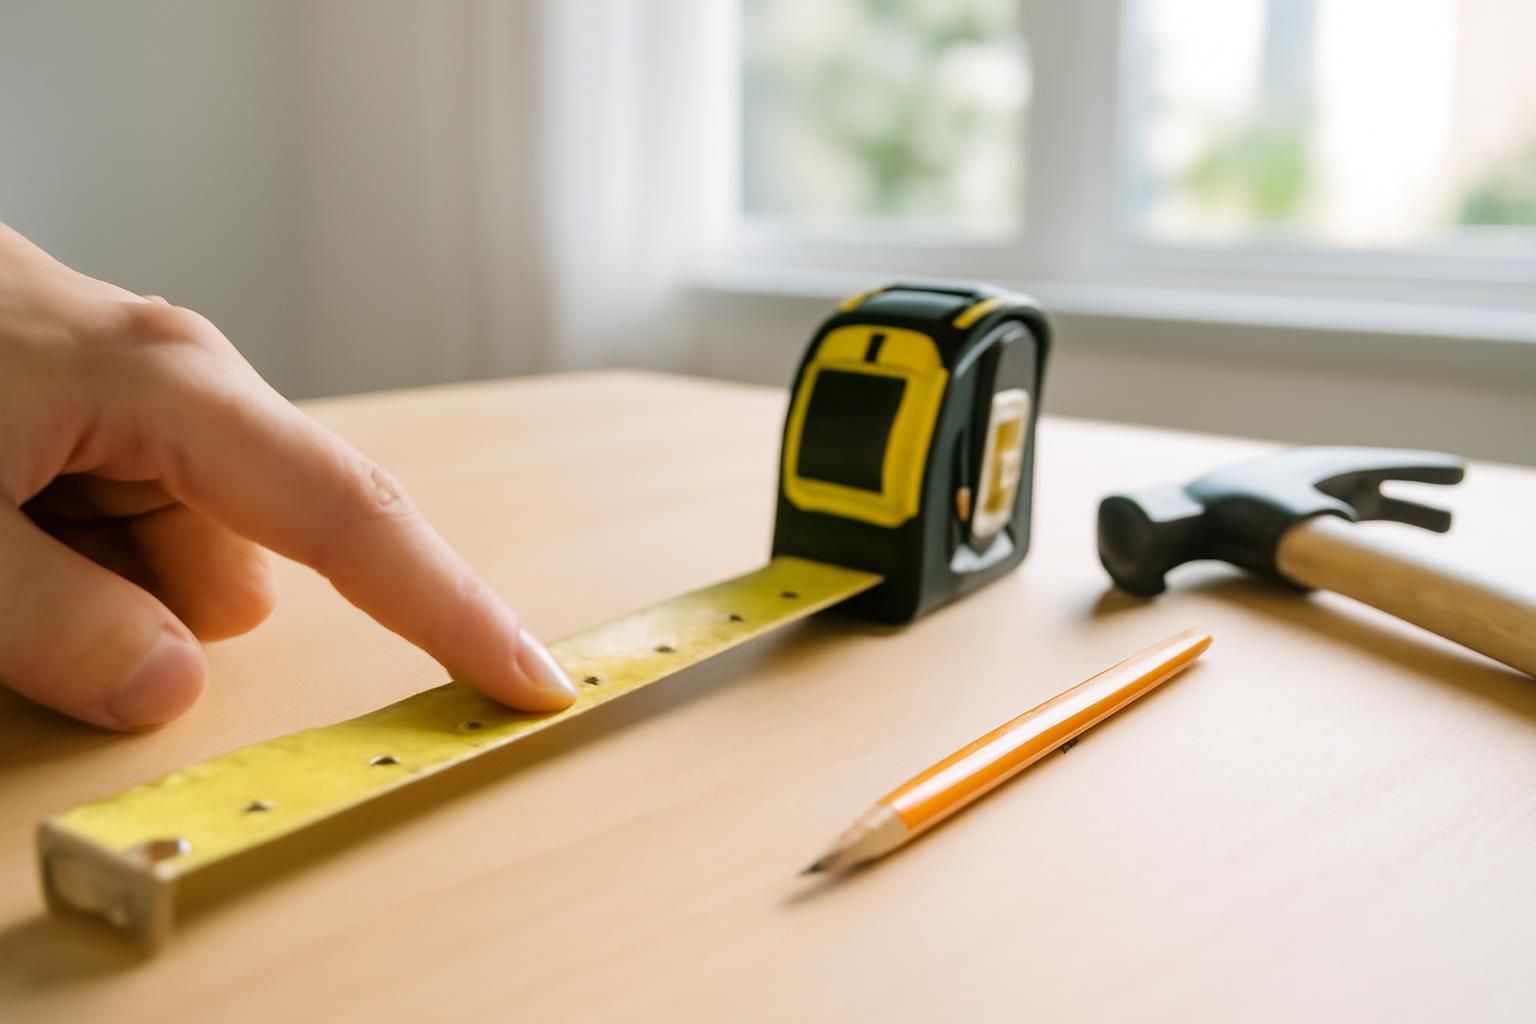
Quick answer
Line up the hook with the edge, read the main unit first then the subdivision, and add the case length when measuring inside a recess.
A tape measure is the most used tool in any toolbox, but misreading it causes expensive mistakes. This guide explains metric and imperial markings, the wobbling hook, and how to take accurate inside and outside measurements.
What you’ll need
- Tape measure (3 m or 5 m)
- Pencil
Step by step
- 1
Understand the markings
On the top edge of a standard UK tape, large numbers show centimetres and the longest ticks show 10 mm intervals. The bottom edge usually shows inches divided into 1/16 increments. Four short ticks between each 1/4 inch mark equal 1/16 inch.
- 2
Read metric measurements
Find the last full centimetre mark before the edge. Count the millimetre ticks after it. Write it as cm and mm — for example, 23.4 cm. Do not misread faint millimetre lines as centimetres.
- 3
Read imperial fractions
Identify the last full inch, then the longest half-inch mark, then the quarter-inch, then the eighth-inch, then the sixteenth-inch closest to the edge. Count up in sixteenths and reduce the fraction — 6/16 becomes 3/8.
- 4
Use the hook allowance
The metal hook at the end slides slightly. This is intentional. When you pull from an edge, the hook slides out and measurement starts from the inside face. When you push against an inside corner, it slides in to compensate for its own thickness. Do not try to eliminate the wobble.
- 5
Measure inside distances
To measure between two walls, extend the tape fully and press the case against one wall. Read the measurement at the other wall, then add the case length printed on the tape body — usually 60–80 mm. Skipping this gives a short measurement that ruins cabinet fits.
- 6
Keep the tape straight and locked
Engage the locking mechanism once the tape is in position. On long runs, support the tape so it does not sag. A curved tape gives a shorter reading than the true distance.
A retracting tape measure can snap back quickly and cut skin or crack a window. Release the lock slowly and control the return with your hand. Never let the tape whip back unchecked, especially near your face or fragile objects.
Common mistakes
- Measuring from the very tip of the hook without accounting for the tab movement — leads to measurements 1–2 mm short.
- Not keeping the tape flat against the surface on longer runs, causing a curved-tape underread.
- Misreading millimetre graduations as centimetres, especially on cheaper tapes with faint printing.
- Forgetting to add the case length when measuring inside a recess.
Frequently asked
Why does the metal hook at the end wobble — is my tape measure broken?
No. The play in the hook is deliberate. It equals the thickness of the hook itself, so inside and outside measurements remain accurate. Do not tighten the rivets.
How do I measure an inside distance using the tape case?
Push the tape case against one surface and read the measurement at the opposite surface. Add the case length printed on the front of the tape body to that number for the true distance.
What is the difference between a 3 m and a 5 m tape — when does length matter?
A 3 m tape is lighter and easier to handle for indoor jobs. A 5 m tape is better for rooms, gardens, and construction. The blade on a 5 m tape is usually wider and stiffer, so it extends further without sagging.