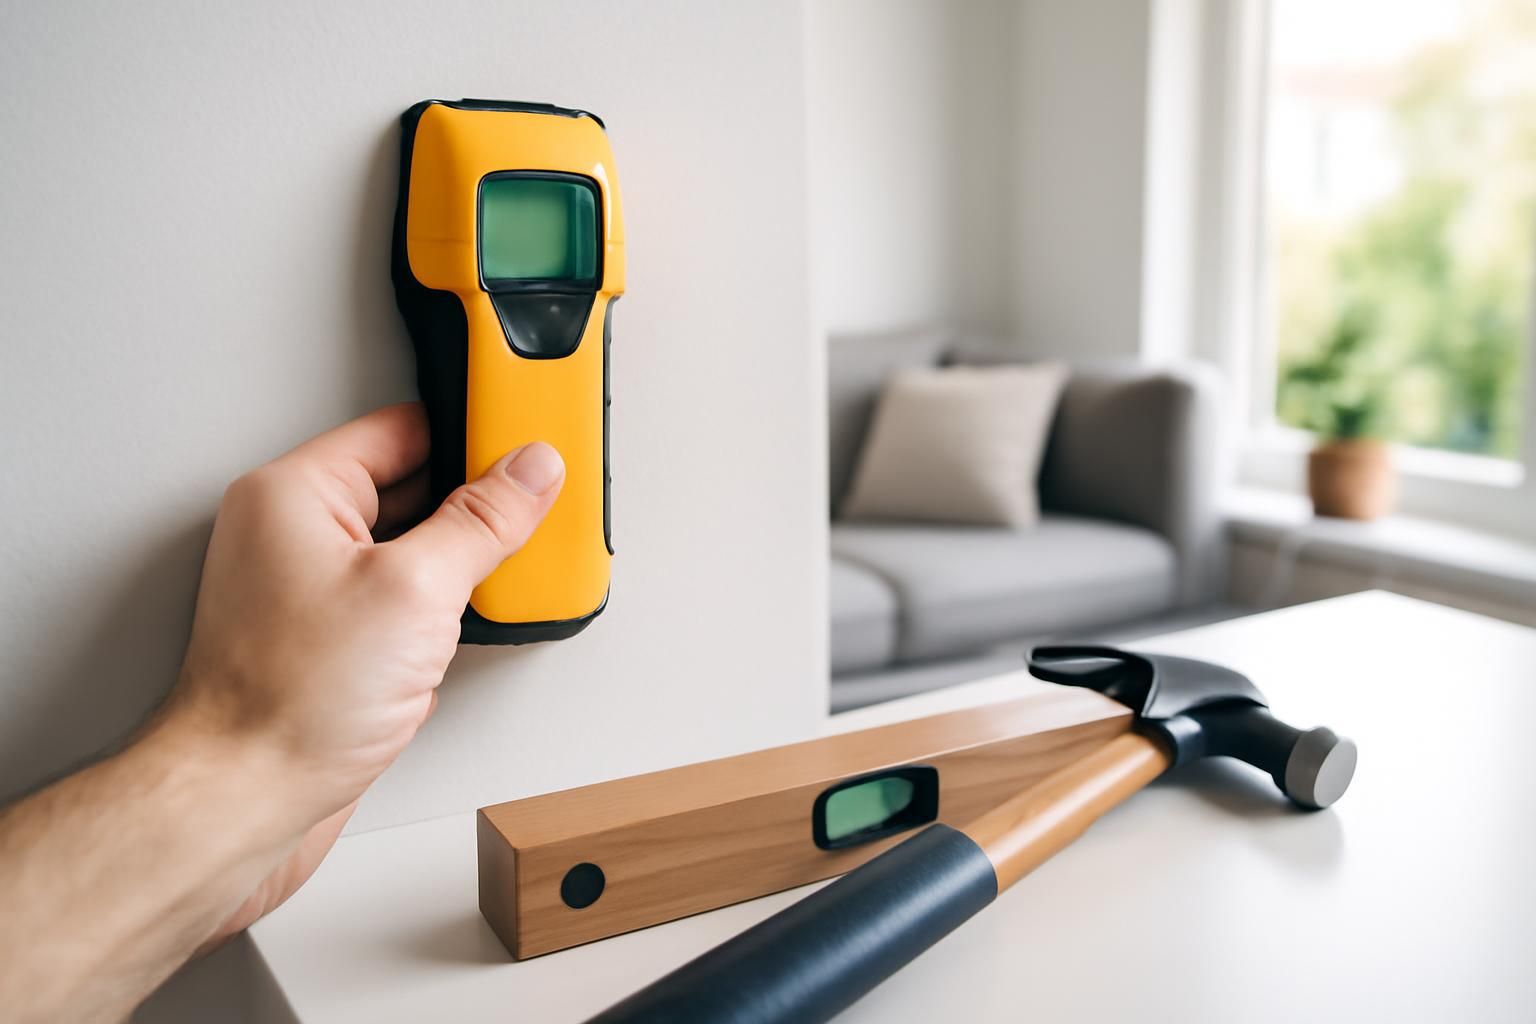
Quick answer
Calibrate the finder on a blank section of wall, then slide it slowly and level until it signals an edge. Mark that edge, keep going to the opposite edge, and mark the center between the two. Sweep again from the other direction to confirm, check that studs land about 16 inches apart, and drill a small pilot hole before you commit.
A stud finder locates the wood or metal framing behind drywall so you can anchor heavy items into something solid instead of hollow gypsum. Most failures aren't the tool's fault. They come from skipping calibration, sweeping too fast, or trusting a single beep. This guide covers electronic capacitance stud finders, the common consumer type, and the technique works whether yours has one LED or a full display.
What you’ll need
- Electronic stud finder with a fresh battery
- Pencil or low-tack painter's tape for marking
- Tape measure
Step by step
- 1
Put in a fresh battery
Capacitance finders are sensitive to voltage, and a weak battery causes more erratic readings and false positives than almost anything else. If yours has sat in a drawer for a year, swap the battery before you start.
- 2
Calibrate on blank wall
Set the finder flat on a spot you're confident has no stud, like the middle of a wide open section. Press and hold the button to power on and let it set its baseline. Don't start over a stud, a pipe, or an outlet. Calibrate over one of those and the tool reads the whole wall wrong.
- 3
Hold it flat and slide slowly
Keep the finder flush against the wall with light, even pressure. Move it sideways at a slow creep, roughly an inch per second. Going fast is the top reason people skip past edges or get a vague reading.
- 4
Mark the first edge
When the finder signals, it's catching the edge of the stud, not the center. Stop, hold position, and mark the wall at the tool's centerline notch. That's the stud's first edge.
- 5
Find the opposite edge
Lift the tool, recalibrate on blank wall, and come at the stud from the other side. Slide until it signals again and mark that second edge. A standard stud face is about 1.5 inches wide, so your two marks should sit roughly that far apart.
- 6
Mark the center
The true center is the midpoint between your two edge marks. Make a cross there. A screw driven into the center sits fully in the wood, away from the sides where it could split out or slip off.
- 7
Check the spacing
Studs are usually 16 inches on center, sometimes 24 in some construction. Find an adjacent stud and measure between centers. A clean 16 or 24 inches means you've almost certainly found real framing. A lone reading that doesn't fit the pattern is suspect.
- 8
Confirm with a pilot hole
For the final check, drill a small pilot hole at the center mark. Solid resistance and wood shavings mean a stud. Easy give and no shavings mean you missed. A pilot hole patches in seconds. A wrong anchor in hollow drywall does not.
A finder with a wire or AC mode can flag live wiring, but it isn't a reliable detector and can miss deep, shielded, or unpowered cable. Never treat a wall as wire-free on its say-so. Avoid drilling directly above or below outlets and switches, since wires often run vertically to them. If you think mains wiring may sit in your drill path, stop and get an electrician. A screw through a live cable is a shock and fire hazard.
Common mistakes
- Starting calibration over a stud, pipe, or outlet, which skews every reading after it.
- Sweeping too fast to register the edges cleanly.
- Drilling into the first edge mark instead of the center, so the screw catches only part of the stud or slips off entirely.
- Trusting a single beep without finding the opposite edge or checking the 16-inch pattern.
- Using one on textured, wet, foil-backed, or thick plaster-and-lath walls, where capacitance finders are unreliable.
- Ignoring a weak battery, the most common cause of false positives.
Frequently asked
Why does my stud finder beep everywhere?
Usually a low battery, a bad calibration start point, or wall conditions like moisture, metal mesh, or texture. Replace the battery, recalibrate on a known-blank area, and try again. If the whole wall reads solid, you probably calibrated over a stud.
Do stud finders work on plaster and lath?
Often poorly. Old plaster walls have wood lath and sometimes metal mesh that confuse capacitance finders. On plaster, a magnetic finder that locates the nails or screws in the lath, or careful test drilling, tends to be more reliable.
How far apart are studs?
Most modern framing is 16 inches on center, though some is 24. Corners, doorways, and windows carry extra framing that breaks the pattern, so use the spacing as a sanity check, not a guarantee.
Can I find a stud without any tool?
Sometimes. Knock along the wall and listen for a dull, solid sound versus a hollow one, or look for slight dimples where drywall screws sit. These are rough hints. Confirm with a pilot hole before hanging anything heavy.
Why does my stud finder give false readings?
Common causes are a low battery, starting too close to a stud, or metal pipes, ducts, and wiring behind the wall. Recalibrate on a blank section of wall, replace the battery if readings drift, and cross-check by tapping or using a magnet to find the drywall screws along the stud line.
Do stud finders work on plaster and lath walls?
Less reliably. Older plaster-and-lath walls vary in thickness and contain wooden lath that confuses electronic finders. A magnet that locates the nails fixing the lath to the studs, or a careful test in an inconspicuous spot, often works better.
Whatever the finder tells you, a small pilot hole is the final word. It takes ten seconds, costs nothing to patch, and decides whether you get a shelf that holds or an anchor that rips out of empty drywall.