Quick answer
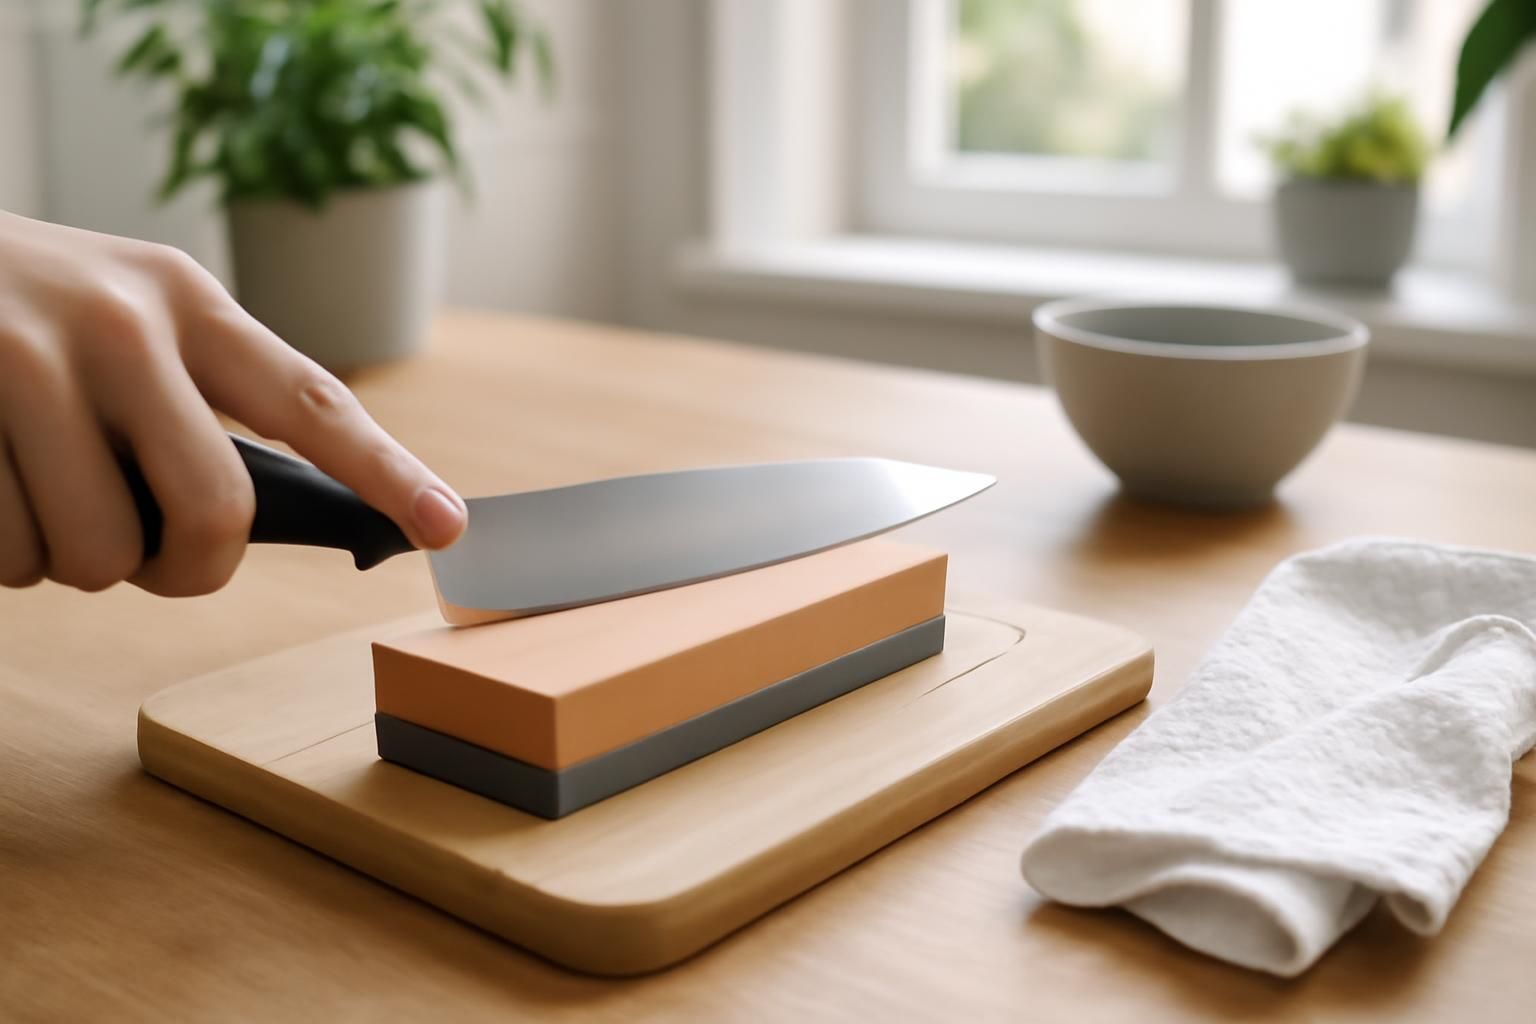
Soak a combination whetstone, hold the blade at a steady 15-20 degree angle, and push it across the stone edge-first in smooth strokes. Work the coarse side first, flip to the fine side, raise and remove the burr, then finish on a strop.
A whetstone gives you a sharper, longer-lasting edge than any pull-through gadget because you control the angle and can rebuild a damaged edge. Two things matter most: a consistent angle and patience. Once you know what a burr is and how to feel for one, the process works the same on any knife you pick up.
What you’ll need
- Combination whetstone (coarse grit around 400-600 on one side, fine grit around 1000-3000 on the other)
- A non-slip base: a rubber mat, a damp folded towel, or a stone holder
- A leather strop, or the smooth back of a leather belt (optional but worth it)
- A black permanent marker (optional, for checking your angle)
Materials
- Clean water for a water stone, or honing oil if your stone is specifically an oil stone
- A few paper towels or a clean rag
- A sheet of paper or a ripe tomato to test the edge
Step by step
- 1
Prepare the stone
Submerge a water stone until the bubbles stop rising, usually 5-10 minutes. It's ready when it looks saturated and stops drinking water. For an oil stone, wipe on a thin film of honing oil instead. Never soak an oil stone in water, and never put oil on a water stone.
- 2
Set up a stable surface
Set the stone on a rubber mat, a damp folded towel, or in a holder so it can't slide. Put it on a counter at a comfortable height with the coarse side up. A sliding stone is the most common cause of cuts, so confirm it's locked in place before the blade touches it.
- 3
Find and hold the angle
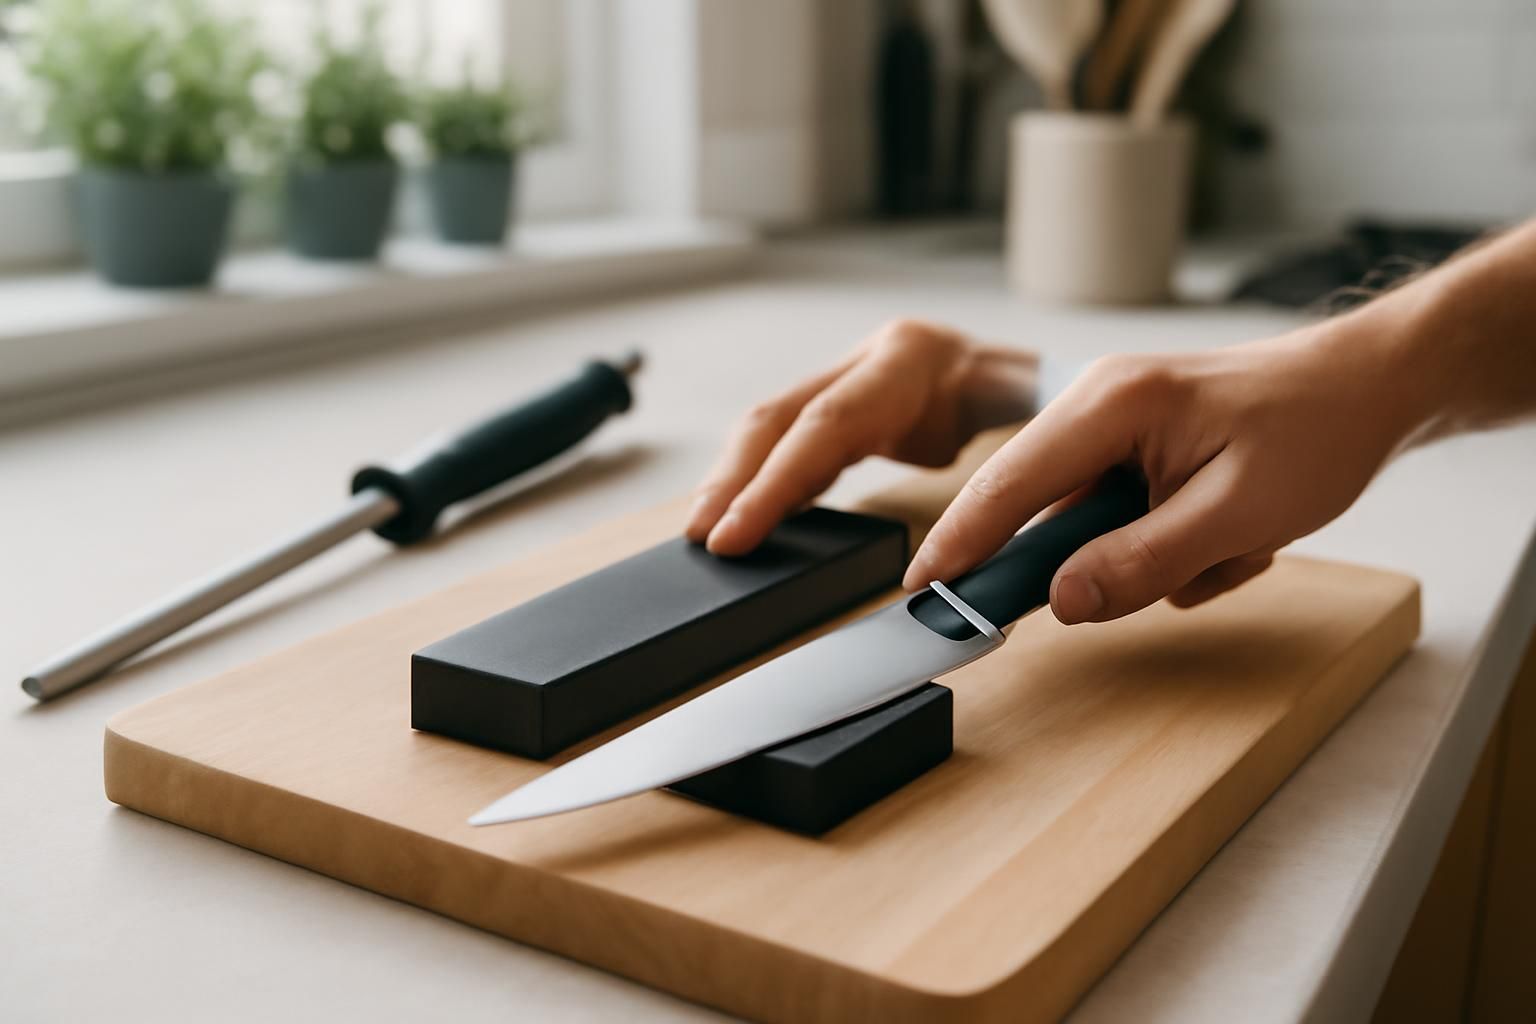
Lay the blade flat on the stone, then lift the spine until the edge sits at roughly 15-20 degrees. For reference, 20 degrees is about two stacked coins under the spine of a typical chef's knife. To check it, color the edge bevel with permanent marker; after a few strokes the ink should wipe off evenly across the whole bevel. If only the top or bottom of the bevel loses ink, raise or lower your angle.
- 4
Sharpen on the coarse side
Push the knife across the stone edge-first, as if you're shaving a thin layer off the surface, sweeping so the whole edge from heel to tip passes over the stone during the stroke. Keep the pressure light and even and the angle locked. Do 8-10 strokes on one side before switching to the other. Re-wet the stone whenever it starts to dry out.
- 5
Feel for the burr
After working one side, run a fingertip from the spine toward the edge (never along it) on the opposite face. You'll feel a tiny rough wire, the burr, running the length of the edge. That burr means you've ground all the way to the apex. Once you feel it along the entire edge, switch sides and sharpen until the burr flips over to the side you just left.
- 6
Refine on the fine side
Flip to the fine grit, or move to your finer stone. Run the same strokes with lighter pressure, alternating sides every few strokes. This grit erases the coarse scratches and shrinks the burr down to almost nothing, leaving a polished, keen edge.
- 7
Remove the burr and strop
Do a few very light, almost weightless alternating strokes on the fine stone to knock the burr down. Then draw the edge backward, spine-first with the edge trailing, along a leather strop about a dozen times per side. Stropping aligns and clears the last of the wire edge, and that's what gives the final hair-splitting sharpness.
- 8
Clean and test
Wipe the blade and your hands, then rinse and dry the stone. Test the edge by slicing a sheet of paper held in the air, or by letting the knife's own weight start a cut on a tomato skin. A sharp knife bites into the paper cleanly without tearing and slides through the tomato with almost no downward push.
A freshly sharpened knife cuts faster and deeper than you expect. Always push the blade edge-away from your body, keep your steadying hand behind the edge, and never run a finger along the edge to test it. Lock the stone down before you start, because a slipping stone is the most common way people get cut doing this.
Common mistakes
- Changing the angle mid-stroke, which rounds the edge over instead of sharpening it. Lock your wrist and move from the shoulder.
- Pressing too hard, especially on the fine stone. Light pressure cuts cleaner and the edge lasts longer than grinding down hard.
- Stopping before you raise a full burr. No burr along the whole edge means you haven't reached the apex, and the knife won't get truly sharp.
- Letting a water stone run dry. Re-wet it often so it stays slick and the grit keeps cutting.
- Skipping the deburring and stropping. That leaves a fragile wire edge that feels sharp for a day, then folds over.
Frequently asked
How often should I sharpen on a whetstone?
For a home cook, every few months is usually enough. Between sharpenings, use a honing rod to realign the edge. Honing straightens a rolled edge; a whetstone removes metal to create a new one.
What angle should I use?
Most Western kitchen knives do well around 18-20 degrees per side, while many Japanese knives are ground for 15 degrees or less. When in doubt, match the angle the manufacturer ground, which the marker trick will reveal.
Can I sharpen serrated or ceramic knives this way?
No. Serrated knives need a tapered rod that fits the scallops, and ceramic blades need a diamond stone. A standard whetstone is for straight-edged steel knives.
My knife still won't cut paper. What went wrong?
Almost always it's an inconsistent angle or a burr you didn't remove. Re-color the bevel with marker to check your angle, make sure you raised a full-length burr on the coarse stone, then finish with light alternating strokes and stropping.
Do I need an expensive stone?
No. A basic combination water stone with a coarse and a fine side handles almost any kitchen knife. Technique matters far more than the price of the stone.
If your knife has chips or a badly rolled edge, stay on the coarse side and spend extra time there before moving to the fine grit. Trying to fix real damage on a fine stone alone just wears you out and wastes the stone.