Quick answer
Keep a small core kit in one lidded box, separate hardware in labeled organizers, and store bulky tools vertically in the least-used closet zone.
Apartment tool storage is about fast access and dust control, not owning a full workshop. The right system keeps drills, fasteners, tape, and repair supplies together without spreading them through every drawer.
Materials
- Lidded tool box
- Small hardware organizer
- Zip pouches
- Labels
- Shelf bin or closet hook
Step by step
- 1
Edit the kit
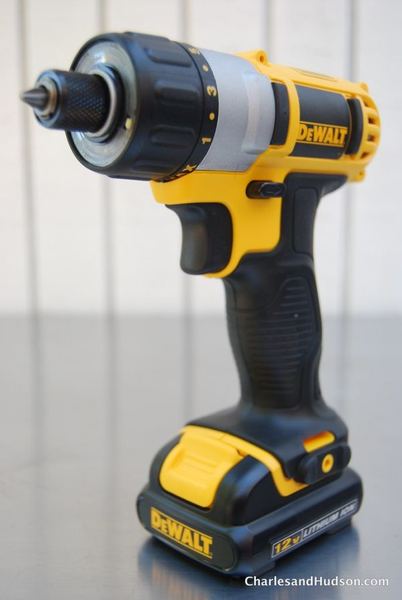
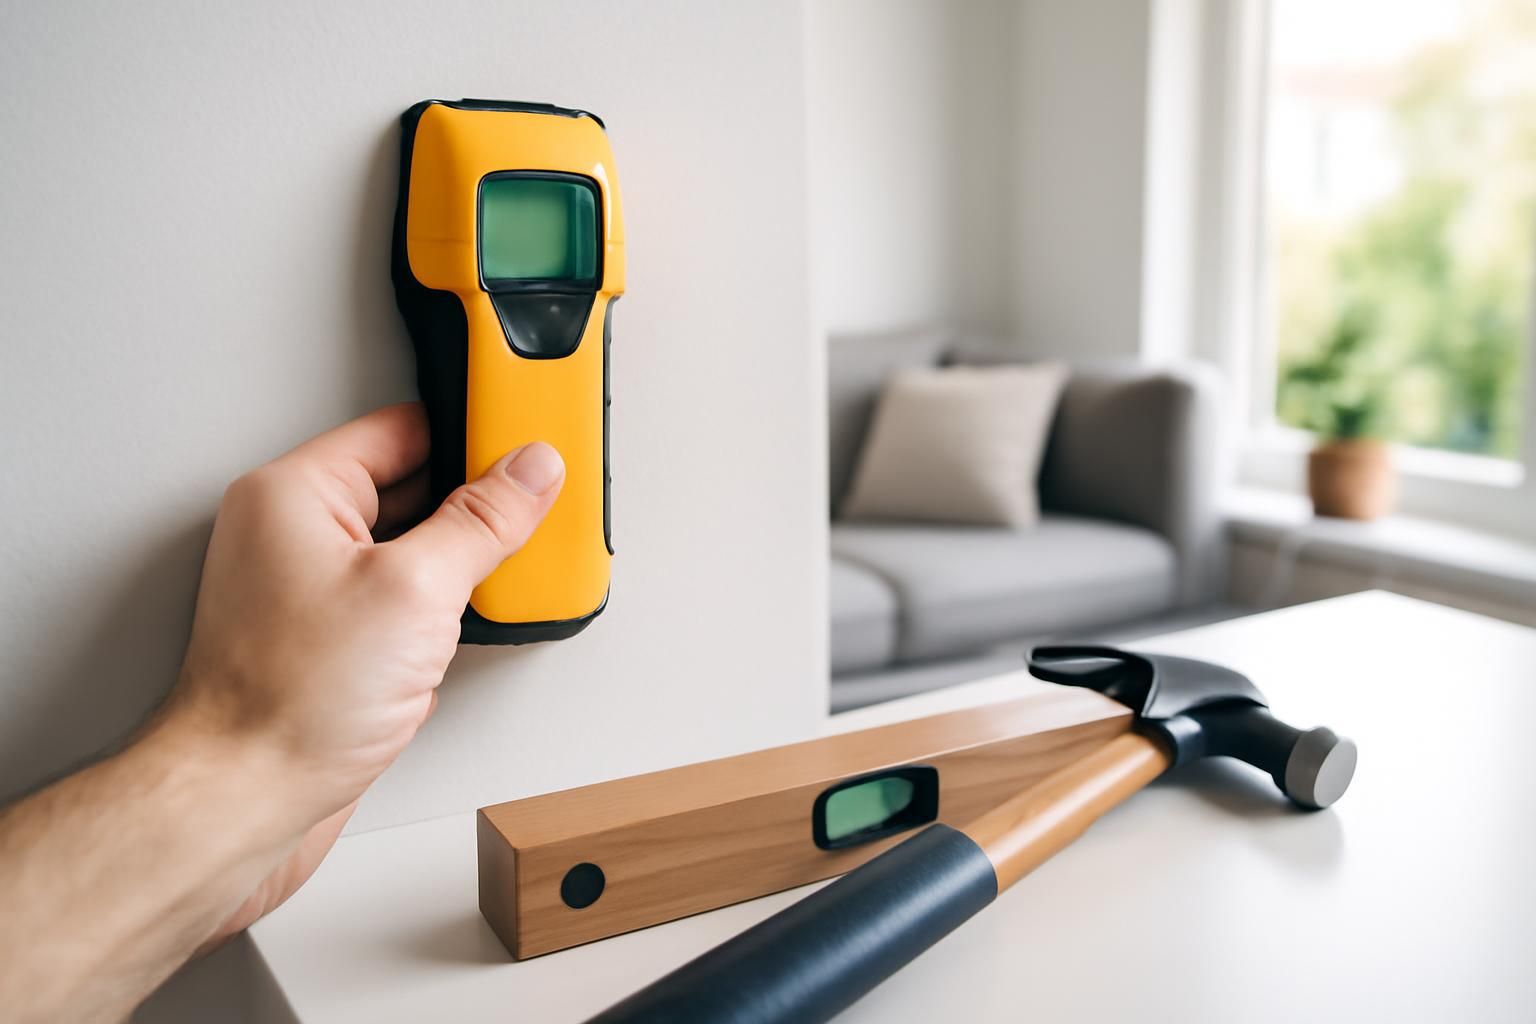
Keep the tools you actually use: screwdriver set, pliers, tape measure, utility knife, hammer, hex keys, drill, and basic bits.
- 2
Separate sharp items
Put blades, bits, and awls in a pouch or small case so hands do not meet loose sharp metal in a drawer.
- 3
Label hardware
Sort screws, wall plugs, hooks, nails, and furniture fasteners into small compartments with labels.
- 4
Use vertical space
Store long levels, extension cords, and a compact drill case upright along a closet wall or shelf side.
- 5
Keep repair supplies together
Tape, glue, wall filler, sandpaper, and spare brackets should sit near the tools, not in kitchen or office drawers.
A renter-friendly storage rule
If you cannot see the category in five seconds, the system is too complex. Use fewer boxes with clearer labels instead of many small mystery containers.
Store batteries and sharp blades where children cannot reach them. Tape over loose battery terminals if they are stored outside packaging.
Common mistakes
- Keeping every spare screw from every flat-pack build
- Mixing paint, glue, batteries, and blades in one open bin
- Buying a large chest that has nowhere to live
Frequently asked
Do I need a pegboard?
Not in most apartments. A lidded box and a labeled hardware organizer are easier to move and hide.
Where should a drill live?
Keep it in its case or a shelf bin with bits and charger so it is ready for one-trip repairs.